original image:
Final Image;
Final wood print;
Editing process of the landscape image;
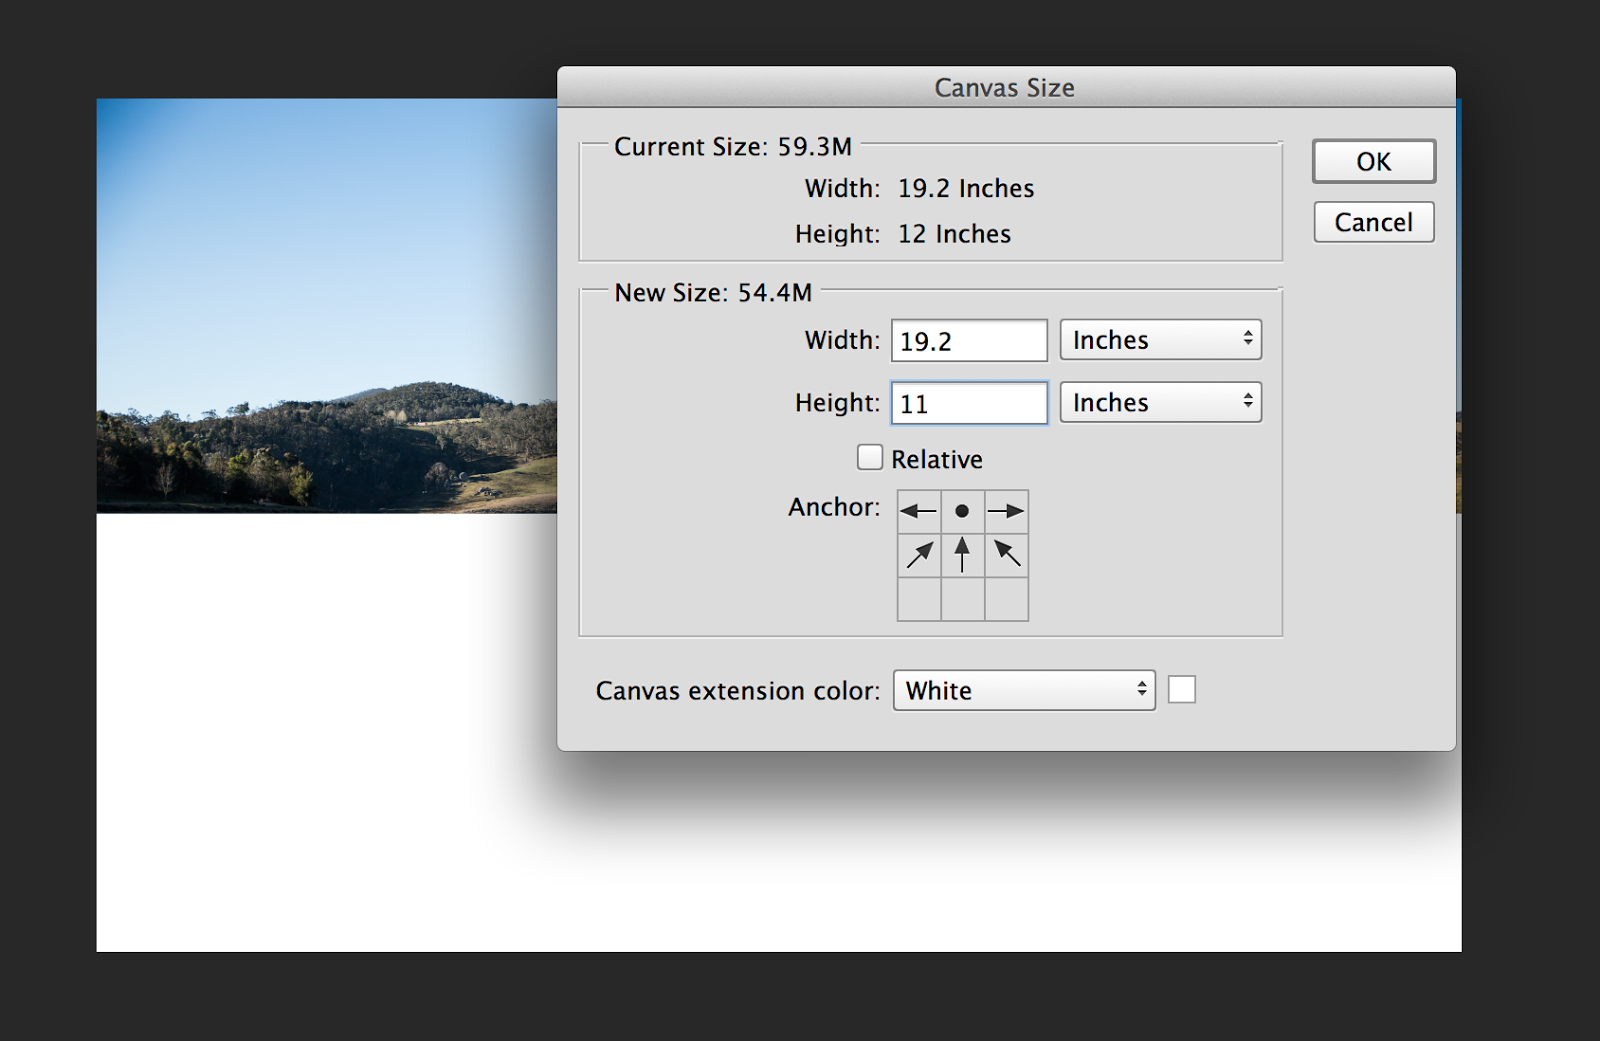 |
| To start off. I created a white 'canvas' below the image. I then created a guide line making sure 'rulers' and 'snap' have been selected. Opening the 'rectangular tool' select the outline of your image and then copy the image and paste into a new layer. Make a second copy after this. Creating a mirror image; press 'Control+T' to open the transform tool. grabbing the top middle box, drag the image down into your canvas space. the image will automatically mirror. |
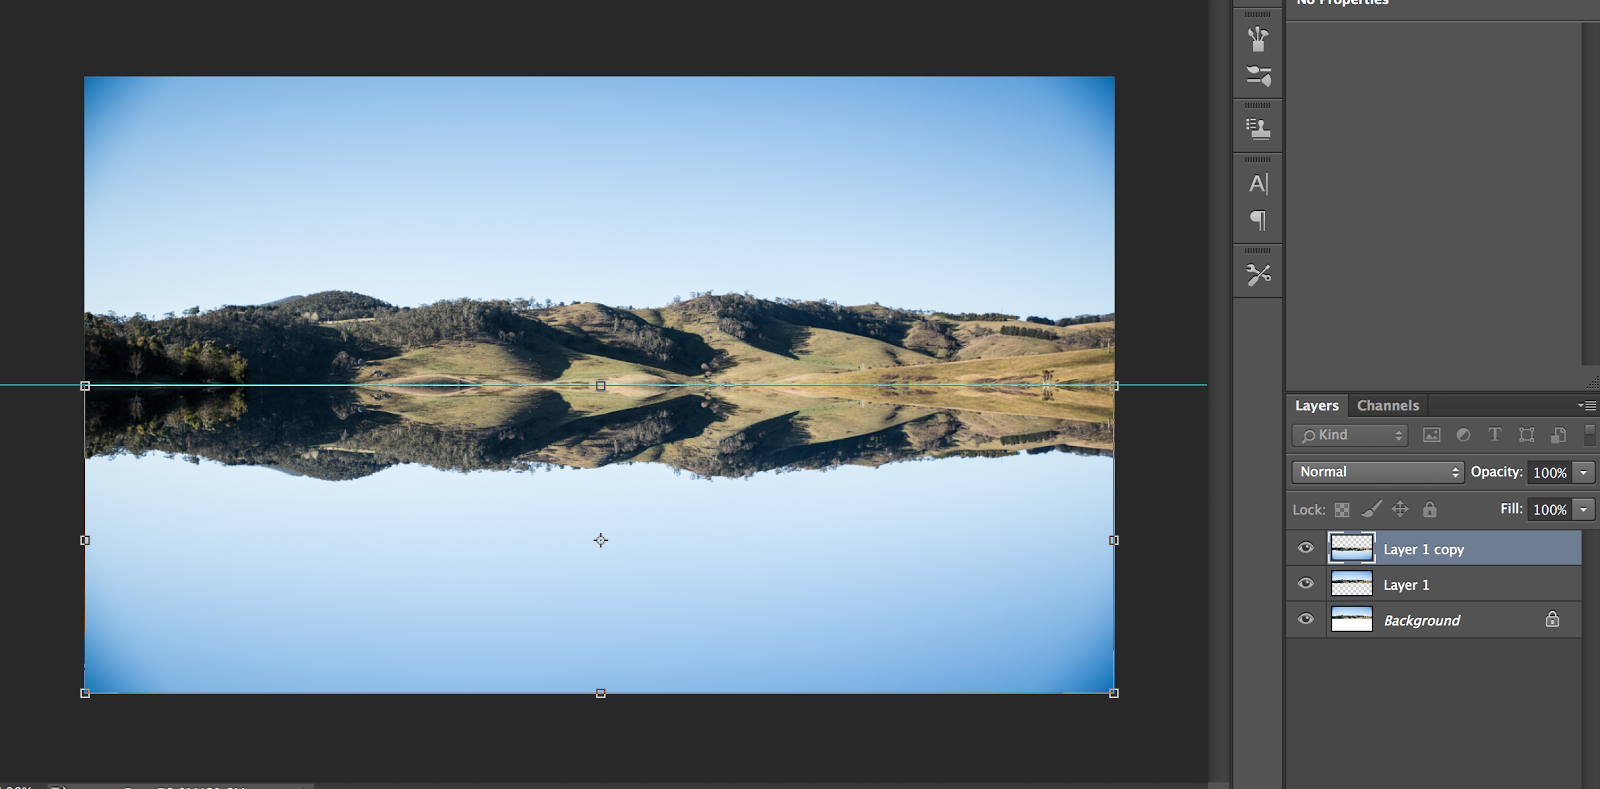 |
| Transform tool (Reversing image) |
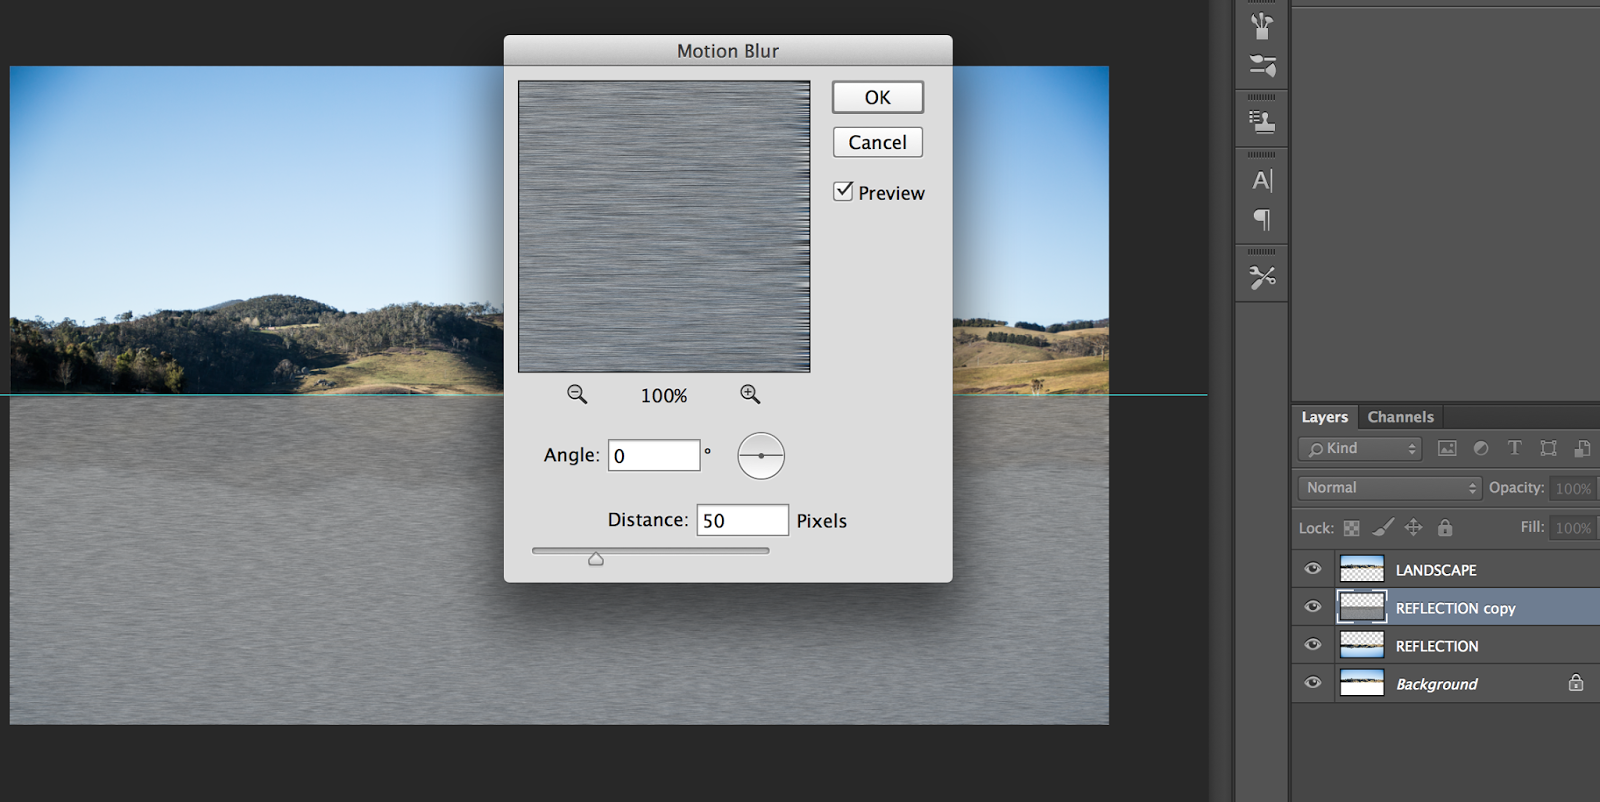 |
- Make a copy of the reflection layer. Go to 'filter' 'blur' 'MotionBlur'. Make the angle 90 Degrees and the distance 35pixels. Now create a new layer and then press 'control' and 'delete' to colour the layer white. Go to filter 'noise' and the 'AddNoise'. Make the amount 400%, add gaussian and tick monochromatic.
- Go to Filter. 'Blur' then to 'MotionBlur'
- Make the angle '0' and the distance '50Pixels'
|
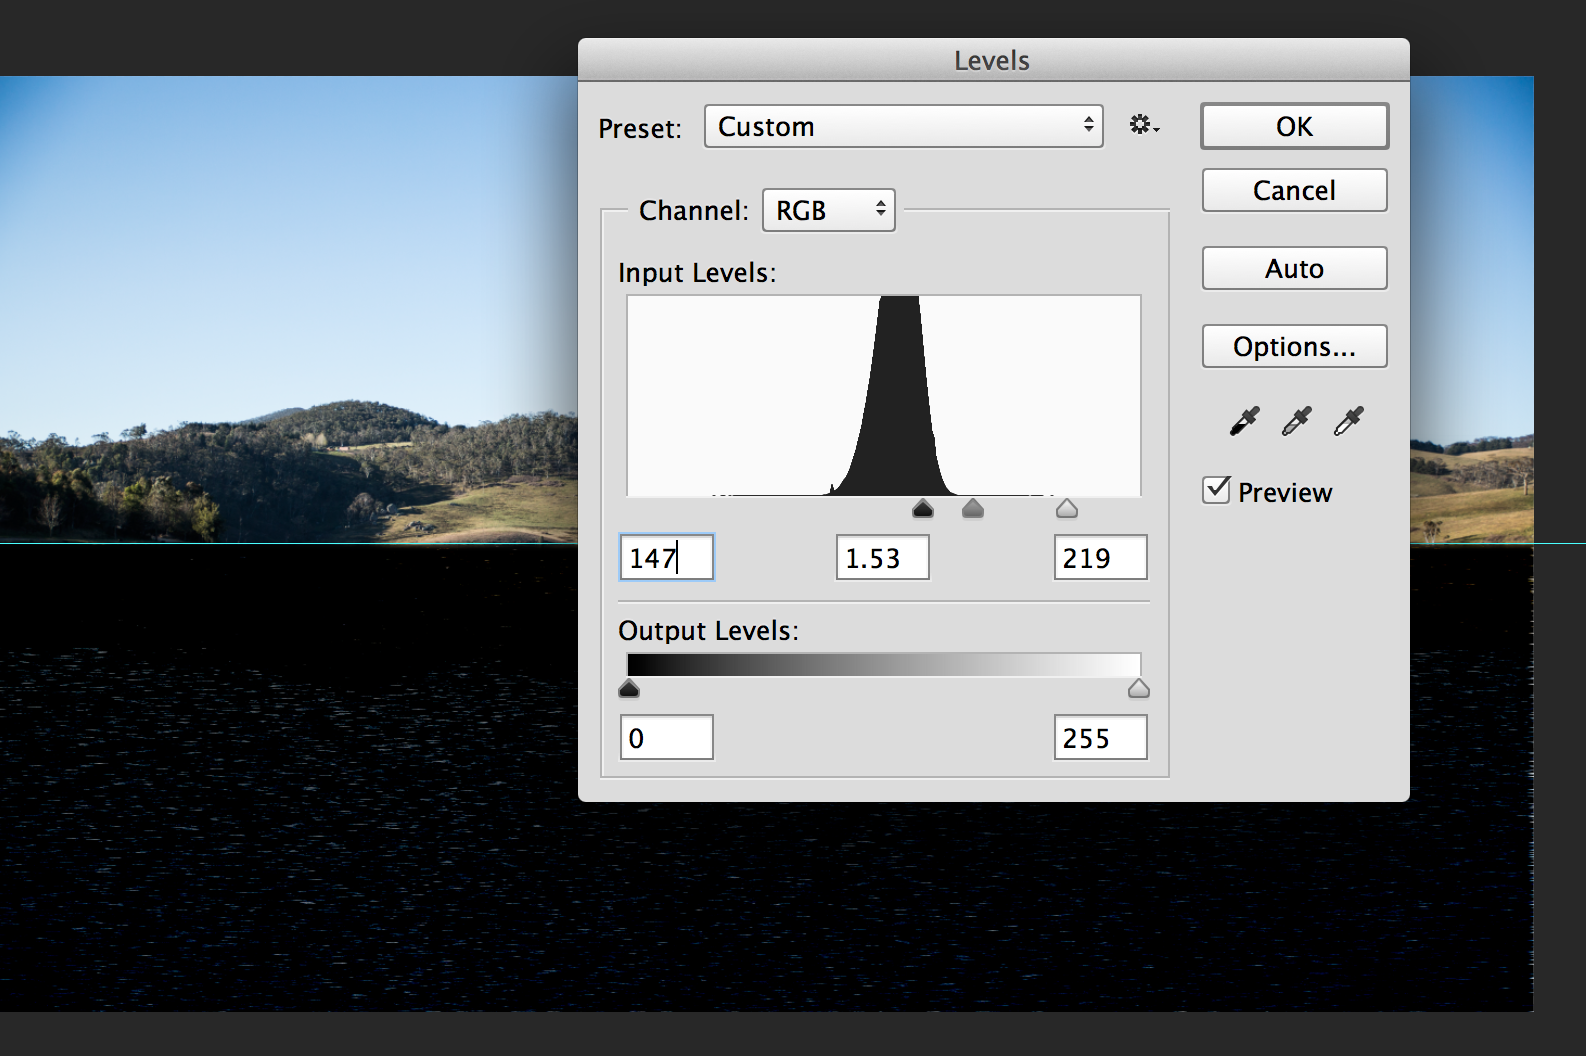 |
Change levels to adjust contrast of the ripplesWe then need to control the contrast of the image.
- hold down 'Control' + 'L'
- Change the output levels to '147. The Midtones '1.53' and the output levels '219'
|
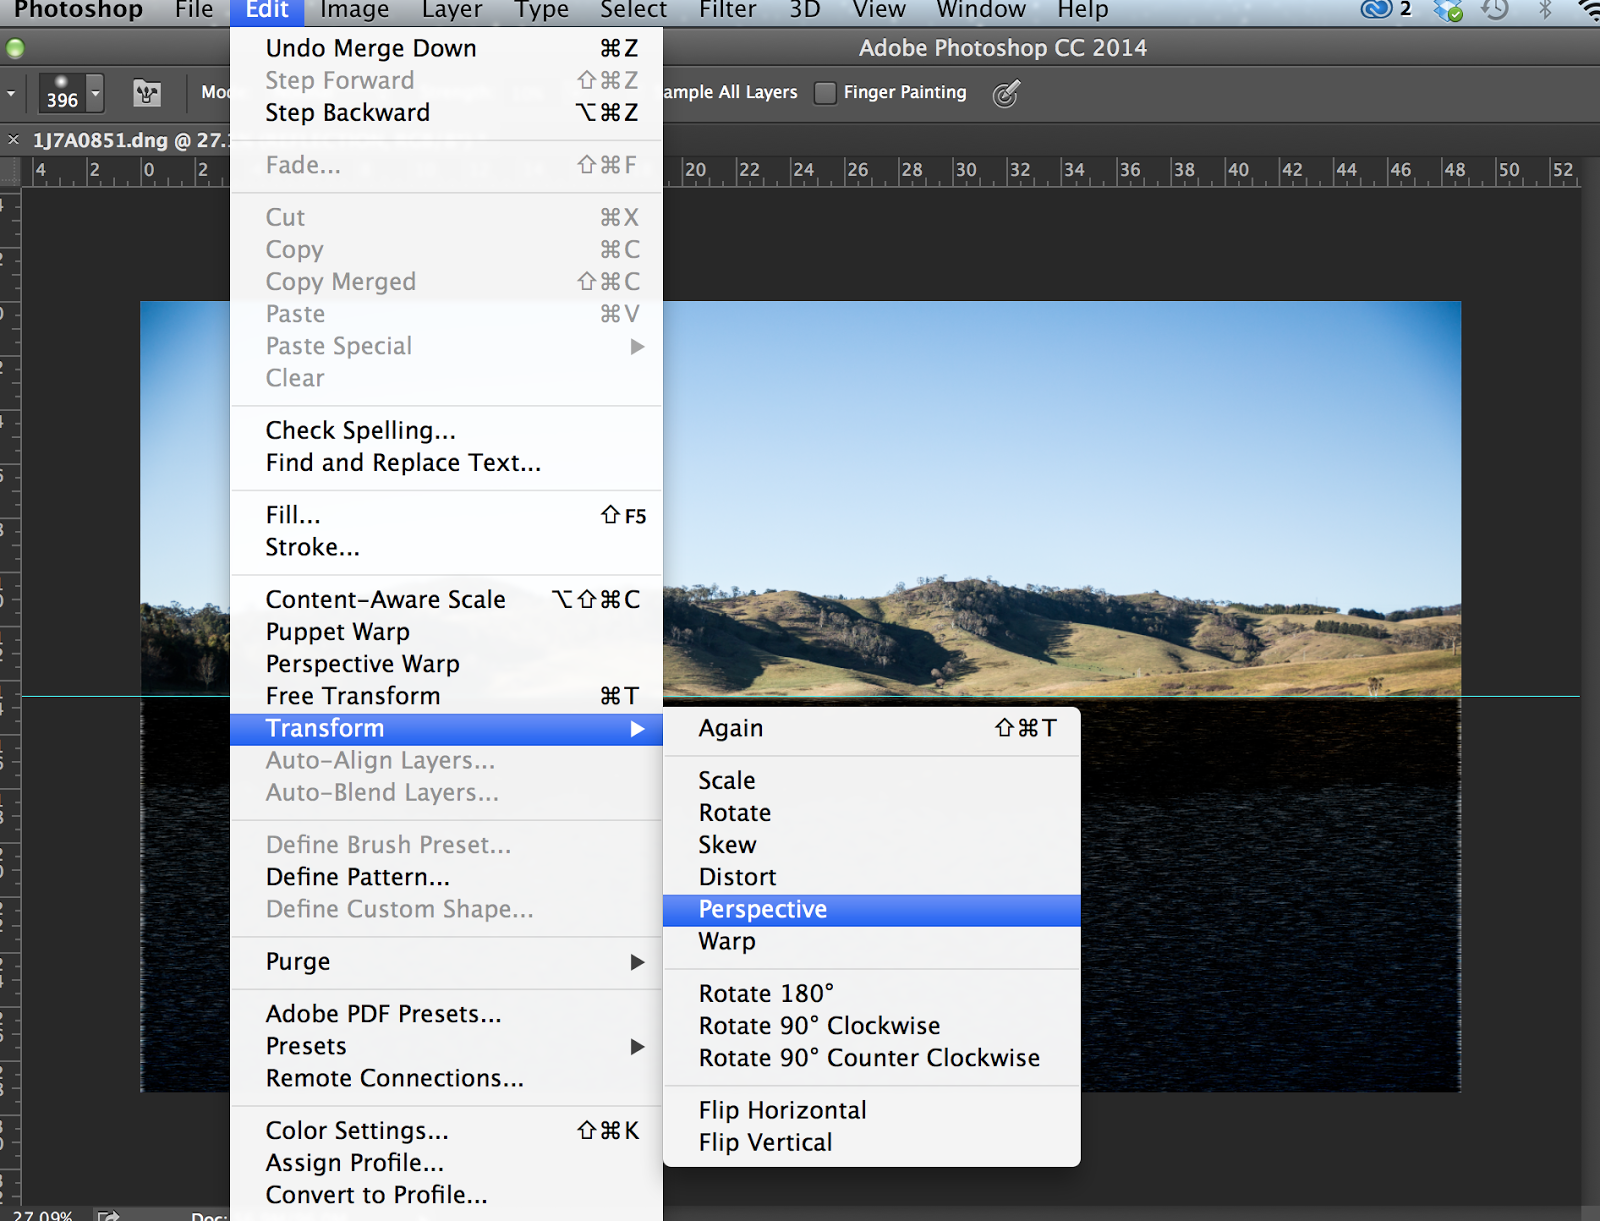 |
I wanted to make the ripples of the water longer towards the bottom of the image and smaller and condensed towards the top of the image. to do this;
- Open the transform tool by pressing 'control' and 'T'
- Go to 'Edit' 'Transform' and 'Perspective'
- Go to the bottom corner and drag outwards. You will see the lines getting wider towards the bottom.
- Then drag the top corners inwards. The image above demonstrates.
|
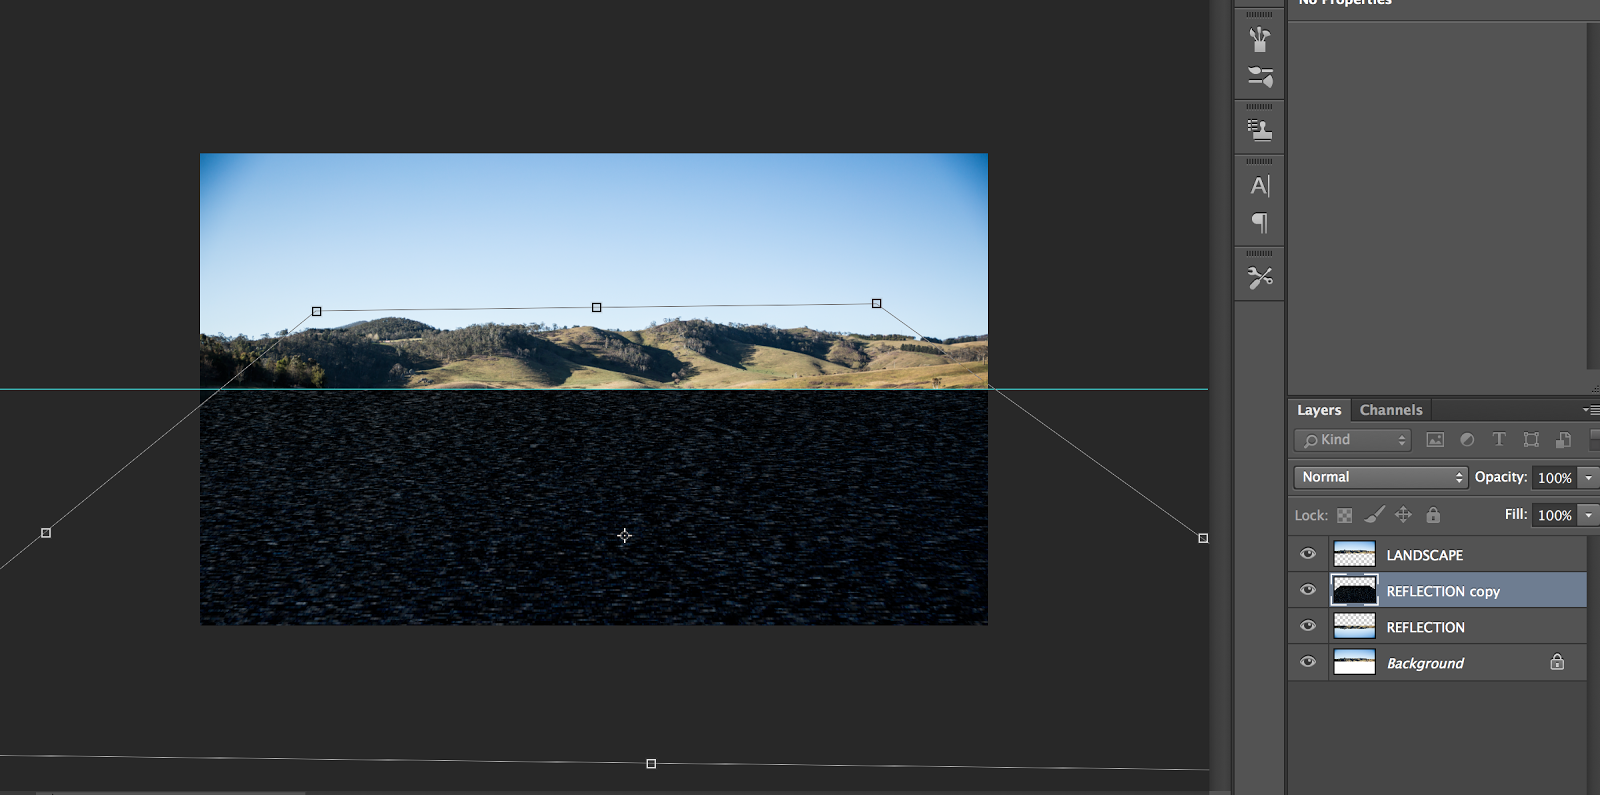 |
| Changing the size and length of the waves |
 |
| Using the smudge tool to smudge waves |
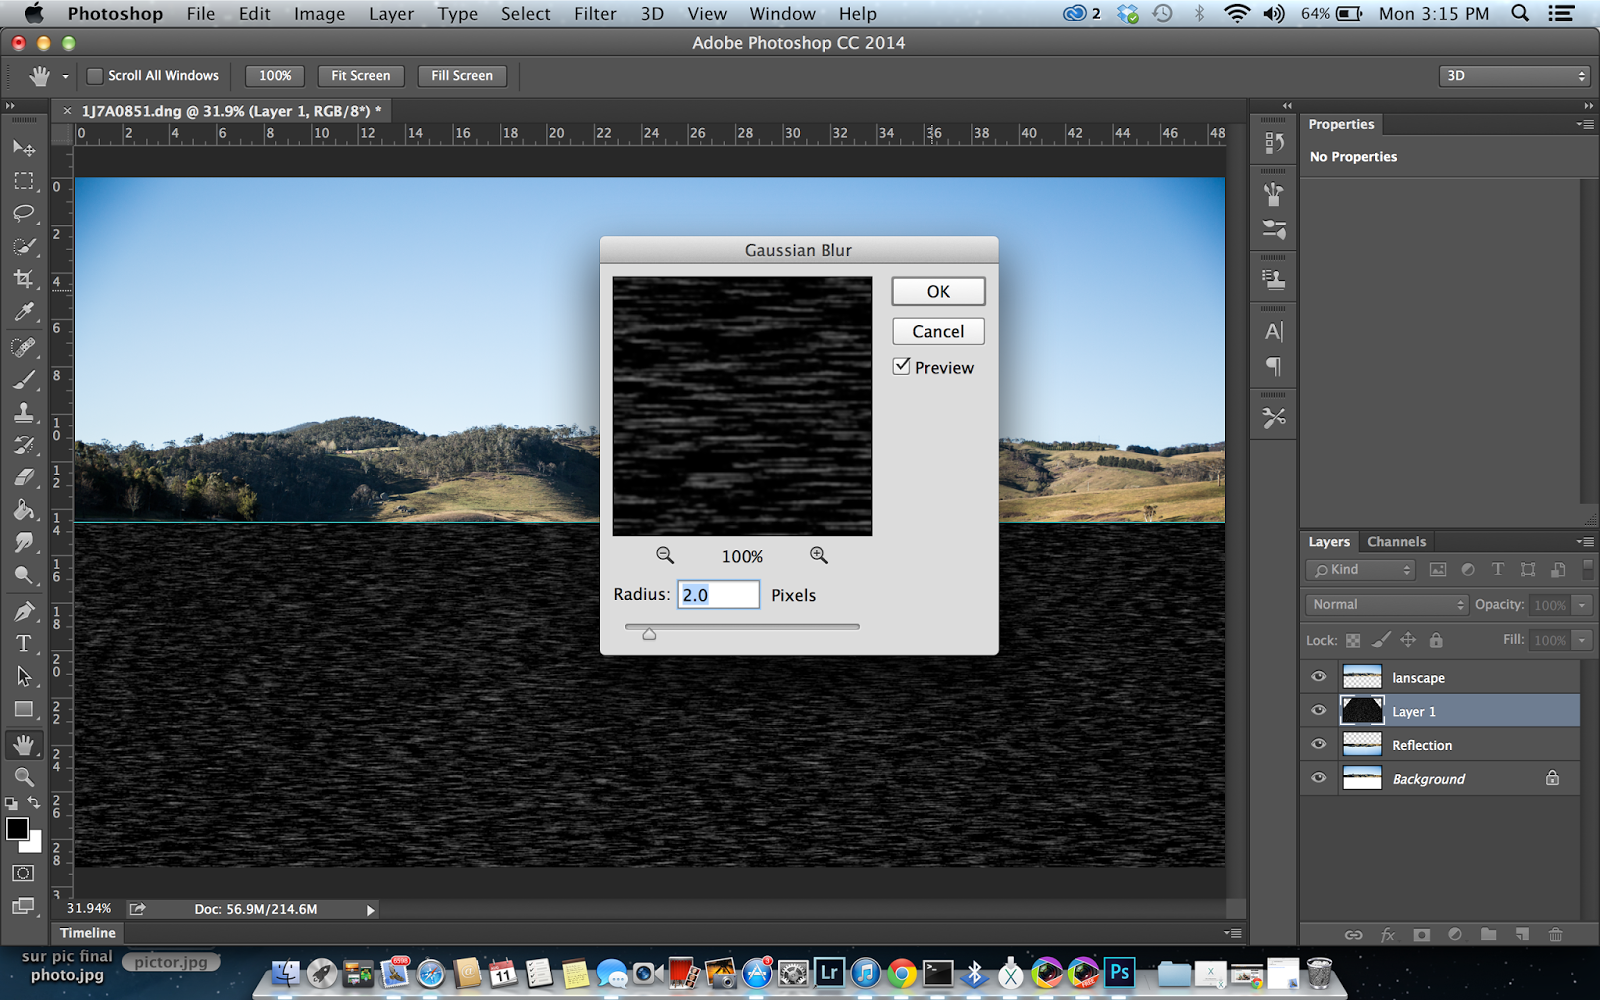 |
| Radius of 2 pixels |
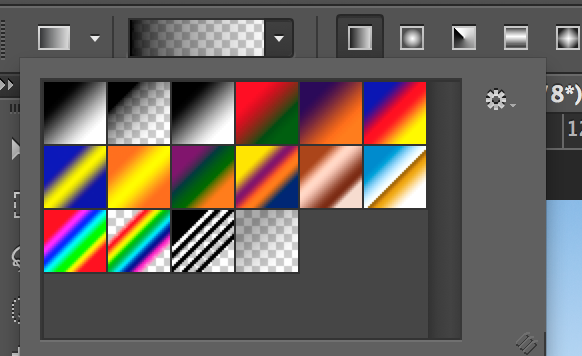 |
| Adding a gradient to the bottom of the image |
 |
| I then changed the colour of the image to 'Old colour' |
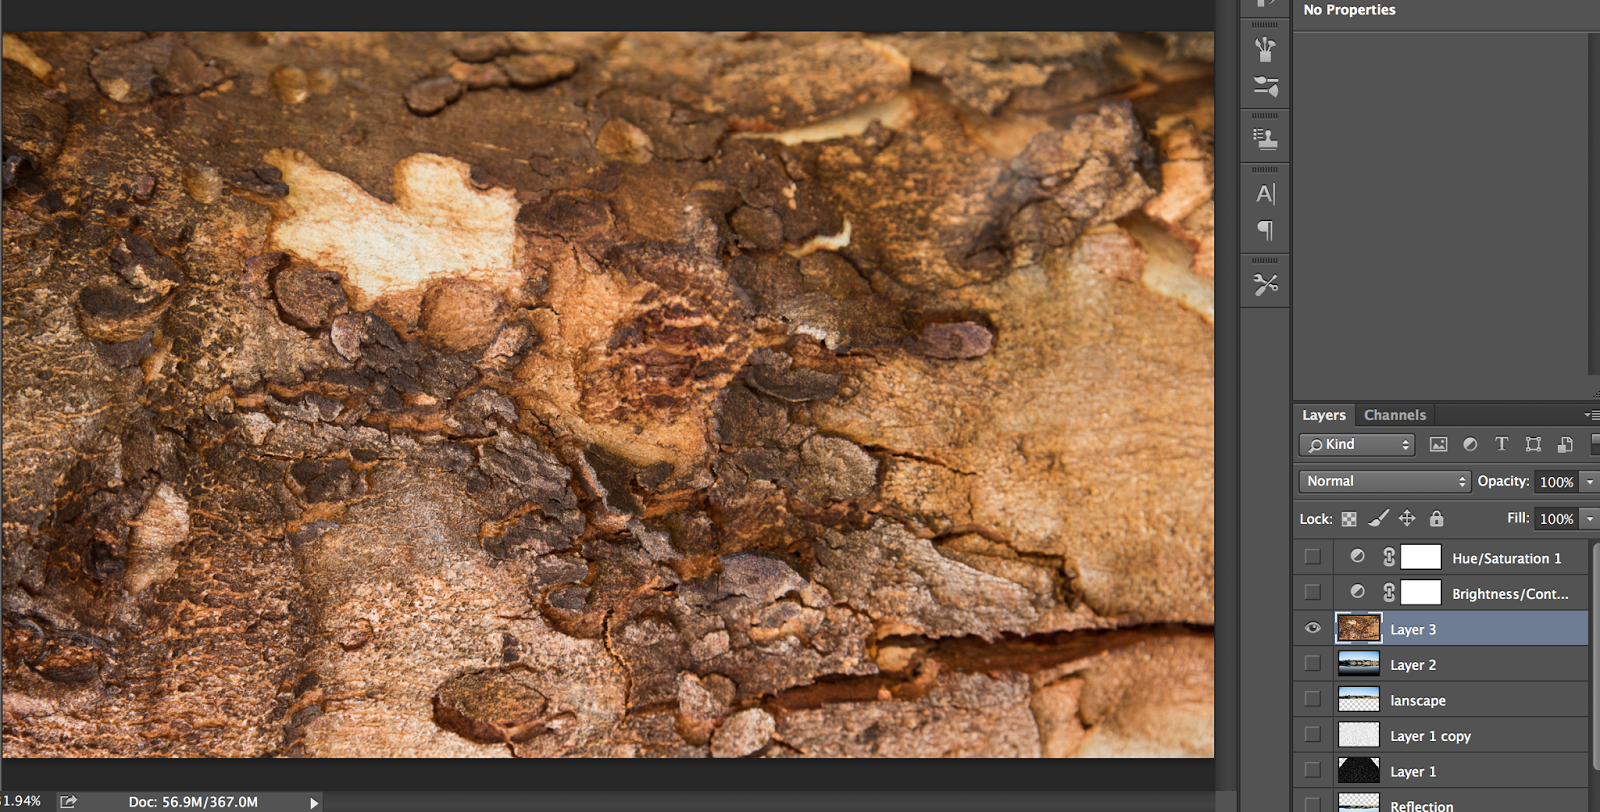 |
| Adding a textured image i took of a tree in my garden. Blending with the final landscape image. |
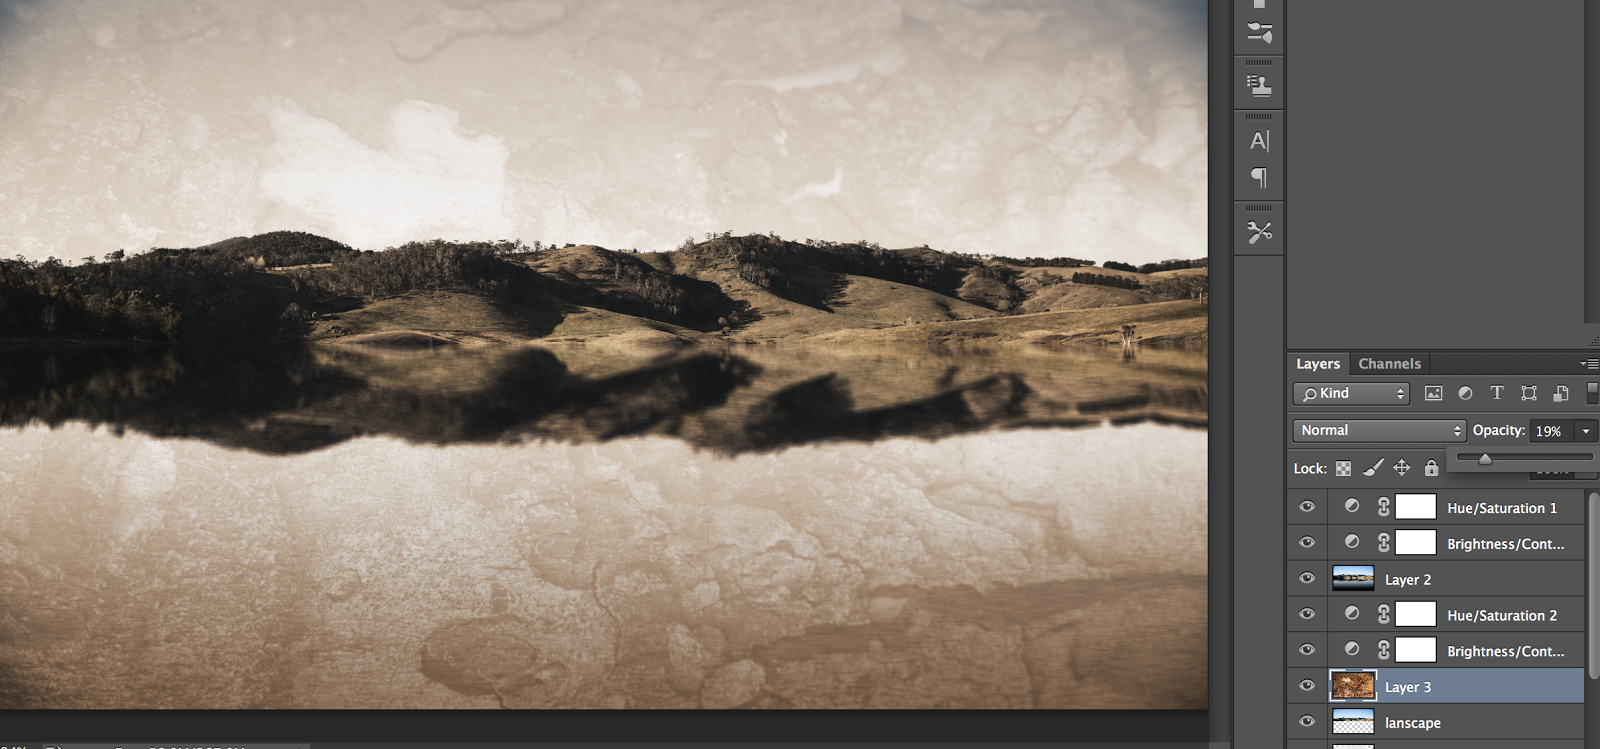 |
Opacity of 64%
Other Images i practiced with;
|
The process;
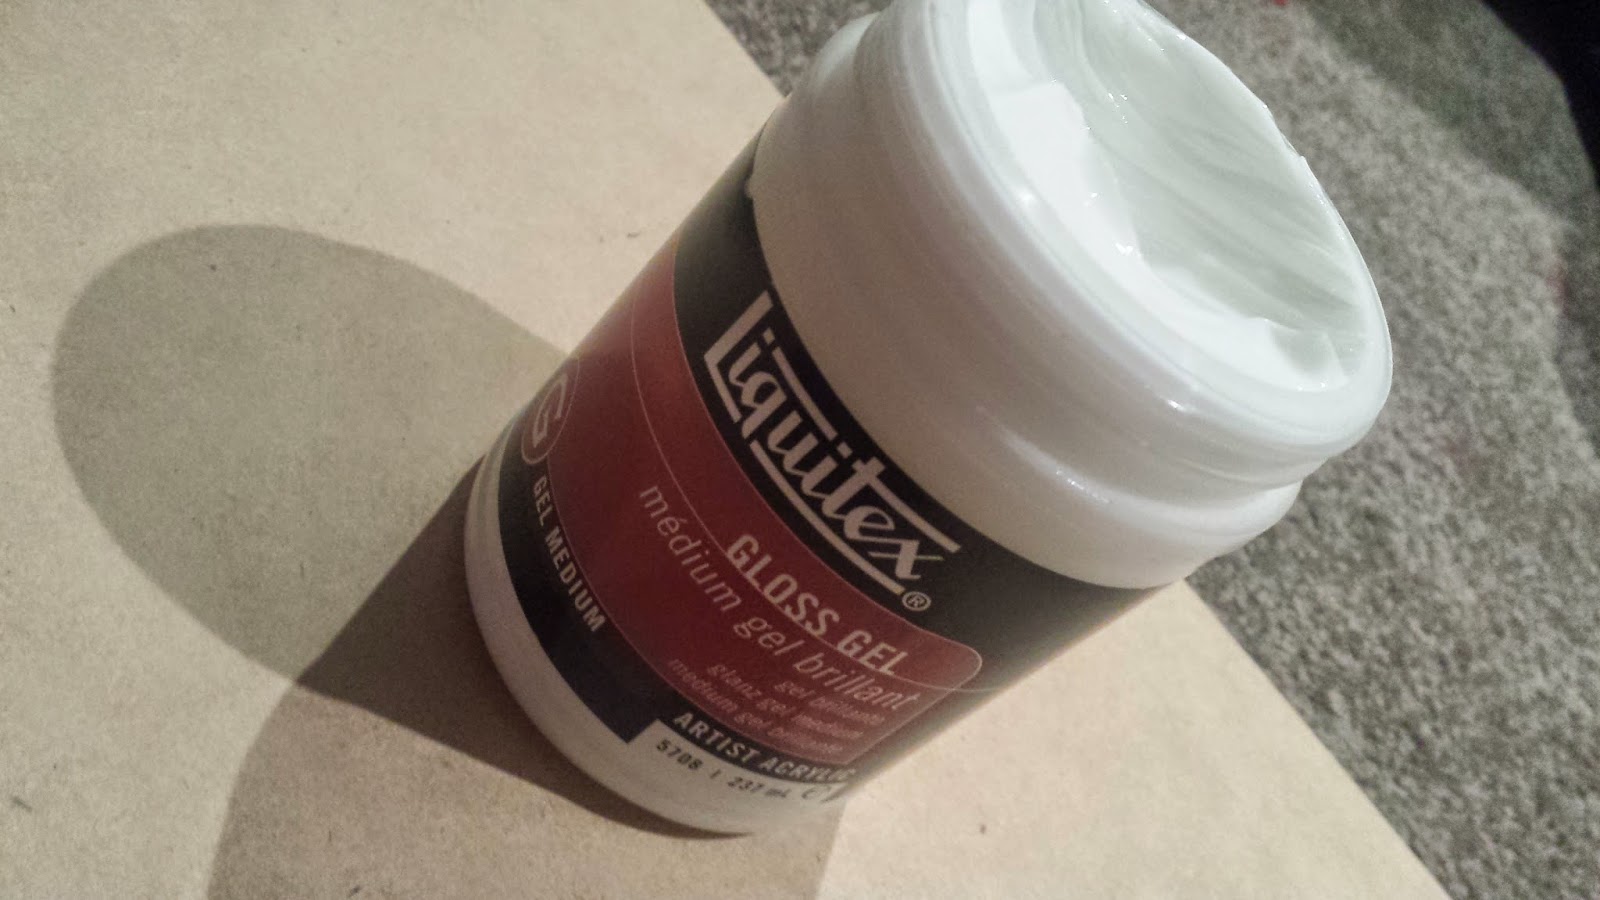 |
| Medium Gloss Gel (Spot light) |
 |
| Added a decent layer over the wood. Also Purchased from Spot Light |
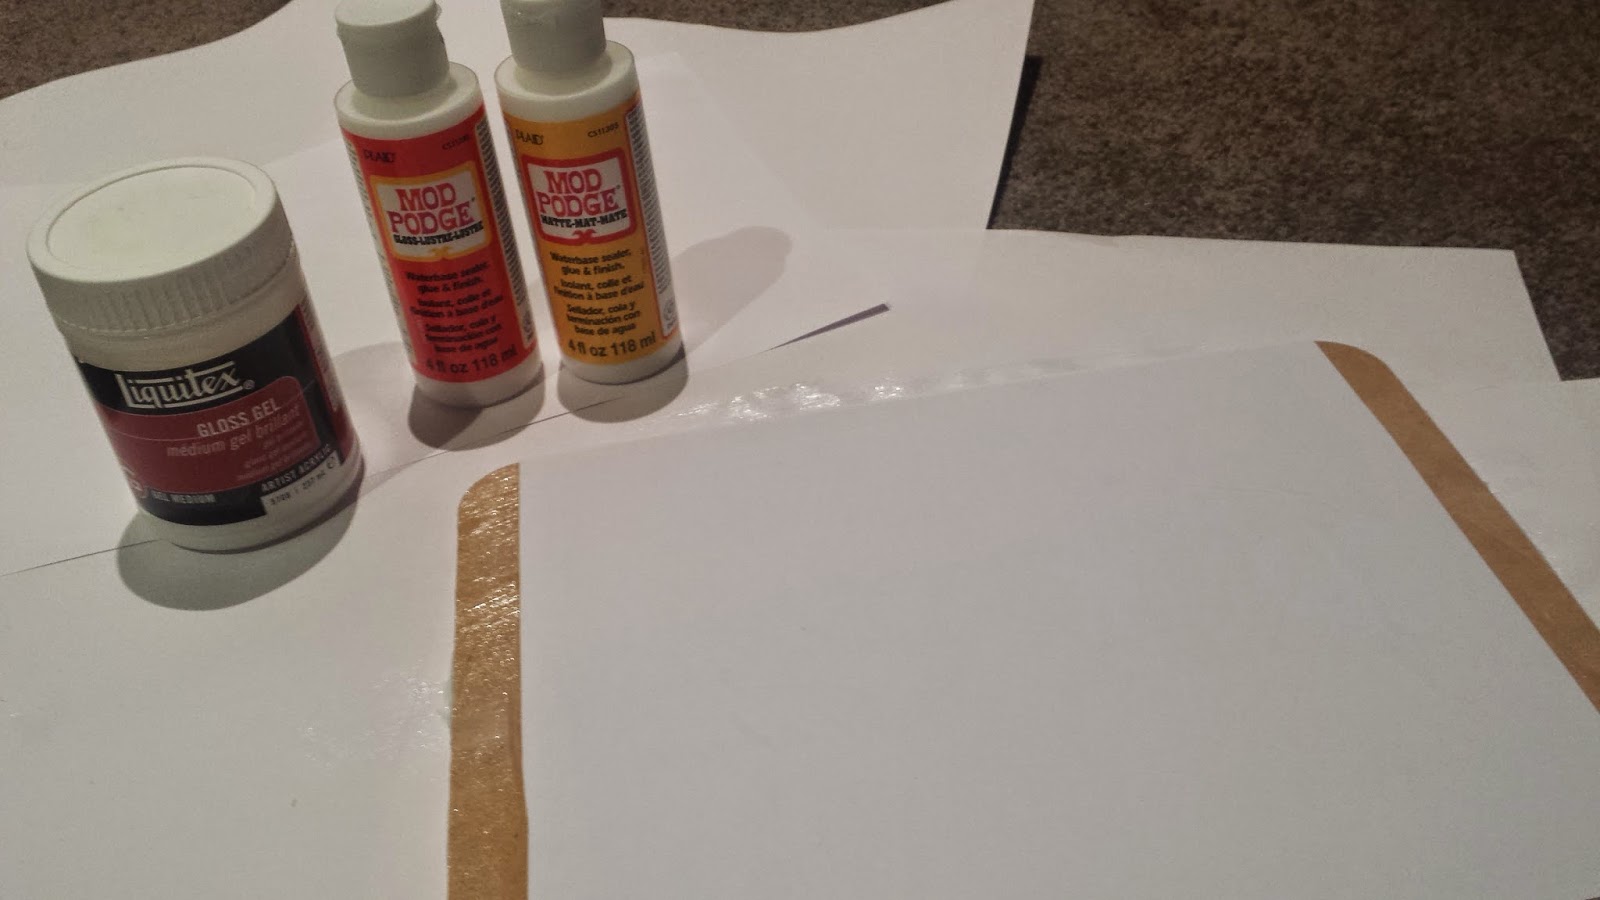 |
Using a 'Laser Print' photo of my landscape image (Printed at office works because my printer died on me). lay the image face down onto the medium gloss gel.
- leave the image to dry over night.
|
 |
Final outcome;
- Once the image is dry. I added the finishing 'matte' gel
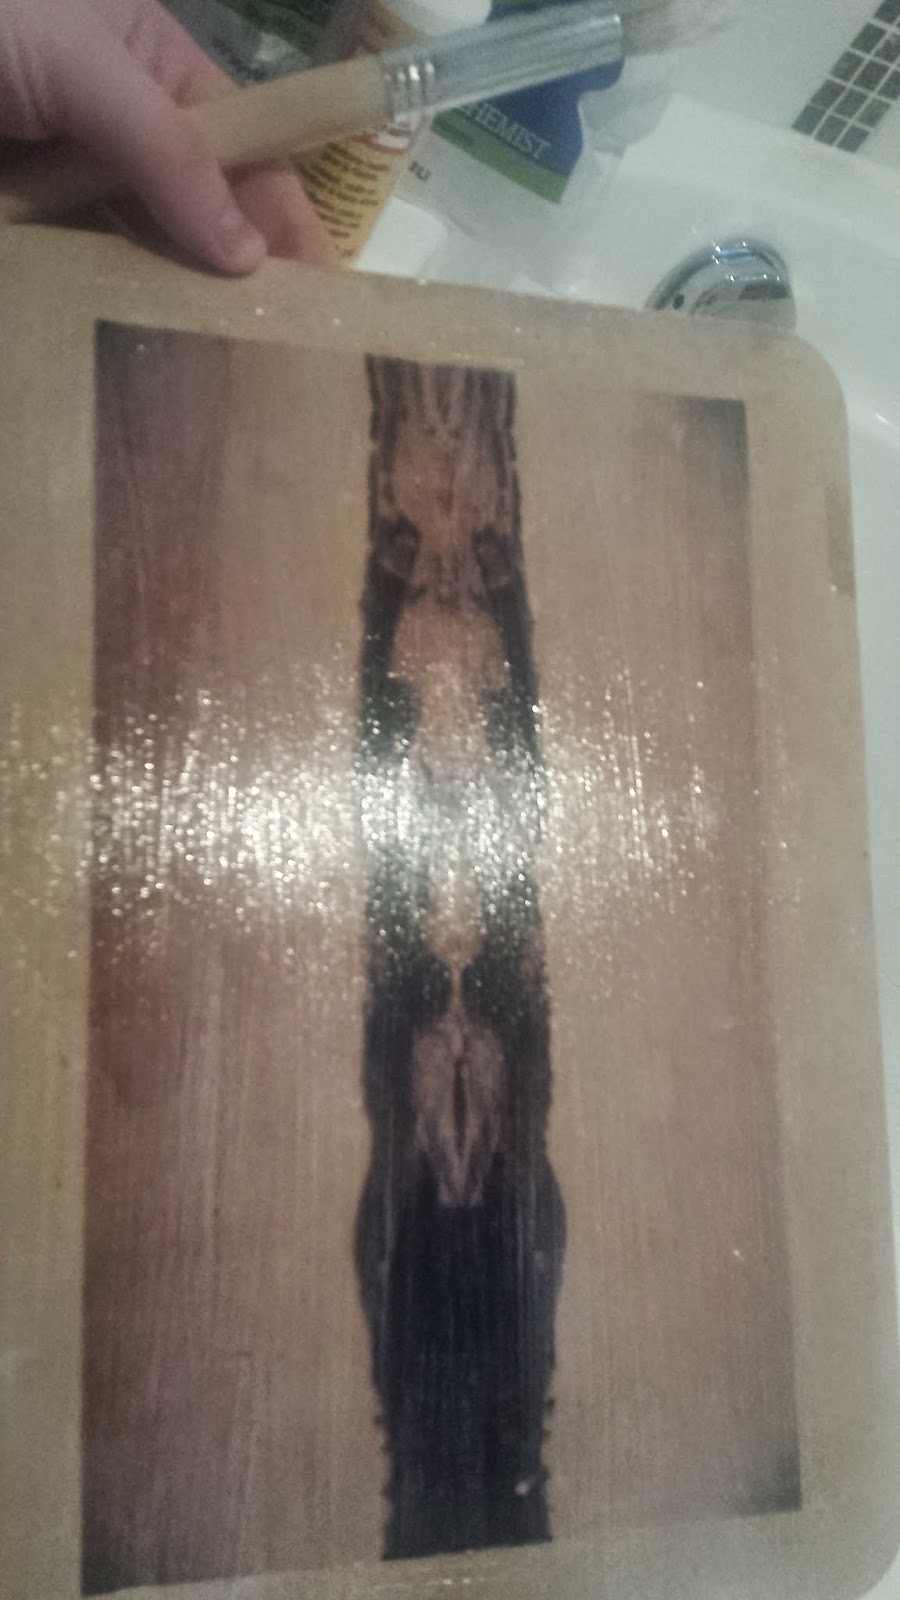
I left the wood under running water for about 1minute.
- Carefully! rub paper off the wood. I used a cloth with a mesh on the inside, using circular motions and water.
mistakes;
- Result to rubbing too hard;
|
The overall costs from Spotlight were:
○ $5.99 - wood planks x4
○ $16.95- Medium Gel
○ $15 - modge podge matte + gloss gel


No comments:
Post a Comment