Saturday 15 November 2014

Lightroom book creating:

In todays society, Books can be classed as an old method of advertisement due to the social media that has expanded. However a book can be an artistic way of showing off your skills as a photographer and keep as a personal viewing of your achieved work.
I decided to experiment using Lightroom to create a pdf of my very own book. If you were to finalise your book in Lightroom you will still need to pay for it via blurb.

You can either manually create your book to have blank pages in between with single views, multiple views to control each page of the book.
You can control the page numbers, add boarders or headings and add text to your image. In my case i just wanted to demonstrate a simple picture book because with landscapes all you really need to focus on is the scenery. 
the process of creating the book you can control each title and move each title with an offset photo aligning tool

in Lightroom you can adjust boarders, add text to describe where the photo was taken or how it was taken. For example:


You can view the layout of your book in a basic form showing both pages per side

You can add boarders, control the size of your boarders and also add text information about your images

If you want to add colours to the background of your images you can select 'background colour' and change the hue to your desired pallet. You can also add a picture by dragging and dropping into the box shown in this image as a background image
Here are some examples i did using a wallpaper theme to my book with no boarders for a dramatic affect:

Simply add your images and you can control the layout yourself

The price of the overall book comes to $36 US dollars


Self publishing research

Self publishing can help a photographer illustrate their story. Make money for charities, or just promote their work to clients

Some examples of websites which create online books:

  • www.Photopico.com.au
  • www.lulu.com
Some examples of the website photo pico :


There is also another website called lulu:

Lulu is another online book creating website
Examples of themes ebooks may be based on


A free software program in which you can create a book that you can read on ibooks

Flash exposure class experiment and panoramic experiments

As an extra advantage towards fashion photography we went out and used a bron colour light pack to achieve these images. By using a flash correctly you can achieve a bright textured background as well as a lit subject.
Some examples from the afternoon:


Using one flash with an aperture f5 1/125th iso 400

Using one light behind the car and one light towards the side of the car.  f13 iso800 1/60th

Pointing the second light up the wall and the first down the side of the car at f13 iso800 1/8th

To add a bit of fun to the lesson we kept the light bend us to create a halo shooting at f11 ISO 800 1/8th


After forgetting my camera when doing more panorama photographs during class, i decided to do some of my own over the weekend:
 Panoramic photography doesn't just have to be taken in a squared motion. You can take continuos shots in a row from left to right to create a long image.

Automate then photo merge your chosen files and then let them automatically process


FINAL OUTCOME :)


Fashion photograph inspired shots and Photoshop exercise


Fashion inspired photography shots around the tafe campus:

Going for a different edgy approach using one flash bend the subject, as a group we set the camera to f11 1/125 iso800

Creating that fashionable shot requires the model to stand in a pose, possibly leaning against something for a more dramatic stance. Having a nice back drop also helps. Aperture of f5 ISO 400 1/125th

Final example from a Prac lesson in the same week. Fashion pose shot

With this idea i took some of my own fashion inspired shots during spare time at the tare studios:

Using two lights creating a desaturated stylish shot with modern headphones. American styled cap and american clothing line yankee (Featuring my brother)

Adidas trainers showing off the new style

Winter look

Winter with colours inspired fashion shot taken with desmond using a reflector and two lights. one facing above the models front, and one facing the wall to create a hair line and make the background white

Portrait fashion shot

Stylish shot featuring Lauren


Photoshop exercise:
How to remove fine hairs from the model in the image using photoshop:


Screen shot of photoshop using extra mask to remove small hairs

Before
After whilst eliminating the background


Introduction to the DE VERE 504DS Digital Enlarger.

DE VERE 504DS Digital Enlarger prints B&W from digital files onto standard photographic material. The DE VERE 504DS creates a "virtual negative" of your digital files which can be projected, sized and exposed onto photographic paper and then processed in the normal way - just like a real negative!

*Convert photograph to black and white

Example of print comparison with divi vs photomechanical:

Using the digital enlarger with some class mates, i managed to enlarge a black and white image to fit an A4 sheet of photographic paper. Exposing to the paper and then placing it back into a box whilst being in a pitch black room with no lights. i then processed the image using the usual process as if the image was a negative. when enlarging the image through the enlarger, we didn't change the aperture of the machine, therefore the image that i processed appears darker than usual. 

Outcome :


We then used the large printer in the studio. Digi print. Compared the quality to the enlarger 'virtual negative' and the digital print turned out sharper, contrasts appear darker yet the overall exposure is better than the virtual negative

outcome:

Overall outcome of the digi print. better


Australian vernacular photography

Australian vernacular photography considers how photographers have used their cameras to depict Australian life, and how ideas of the nation have been constructed through photographic images.
Sixteen Australian photographers are represented by some 25 photographs taken from the 1960s to the 2000s. The photographs range from the more conventionally photo-documentary through to later works by photographers positioned more consciously in an art context.
An example of one of these selected photographers: Jeff Carter (5 August 1928 – 25 October 2010) was an Australian photographer, filmmaker and author. His work was widely published and contributed iconic representation of the working population of the Australian bush as self-sufficient rugged and laconic.


Tuesday 12 August 2014

Assignment;


original image:


Final Image;
Final wood print;
Editing process of the landscape image;

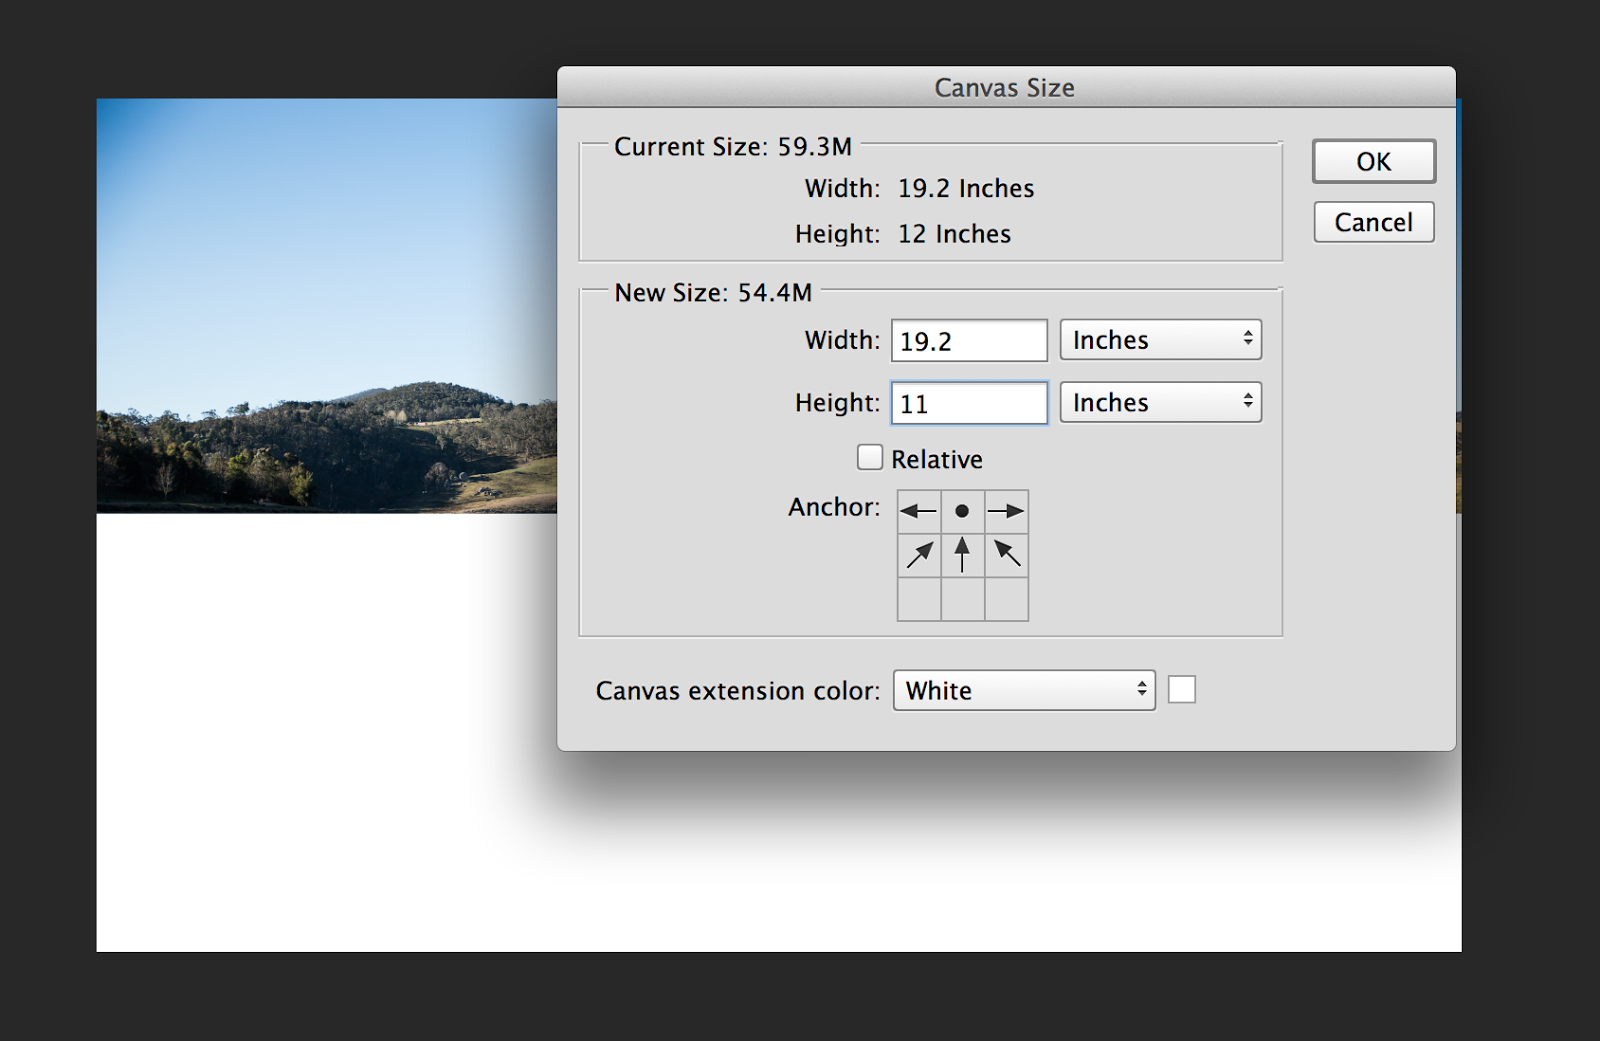
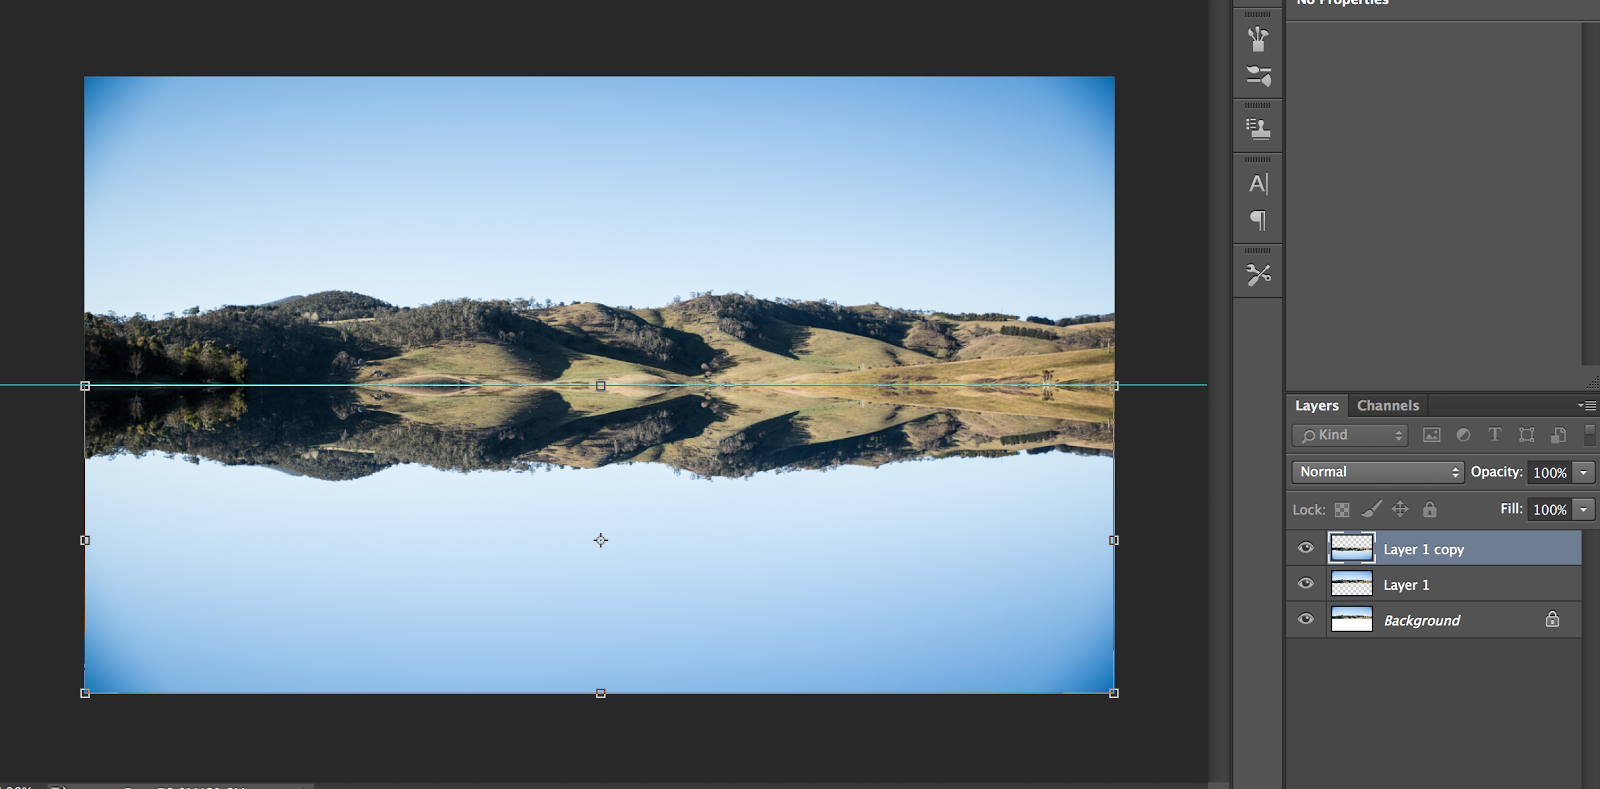
To start off. I created a white 'canvas' below the image. I then created a guide line making sure 'rulers' and 'snap' have been selected. Opening the 'rectangular tool' select the outline of your image and then copy the image and paste into a new layer. Make a second copy after this. Creating a mirror image; press 'Control+T' to open the transform tool. grabbing the top middle box, drag the image down into your canvas space. the image will automatically mirror.


Transform tool (Reversing image)


  • Make a copy of the reflection layer. Go to 'filter' 'blur' 'MotionBlur'. Make the angle 90 Degrees and the distance 35pixels. Now create a new layer and then press 'control' and 'delete' to colour the layer white. Go to filter 'noise' and the 'AddNoise'. Make the amount 400%, add gaussian and tick monochromatic. 
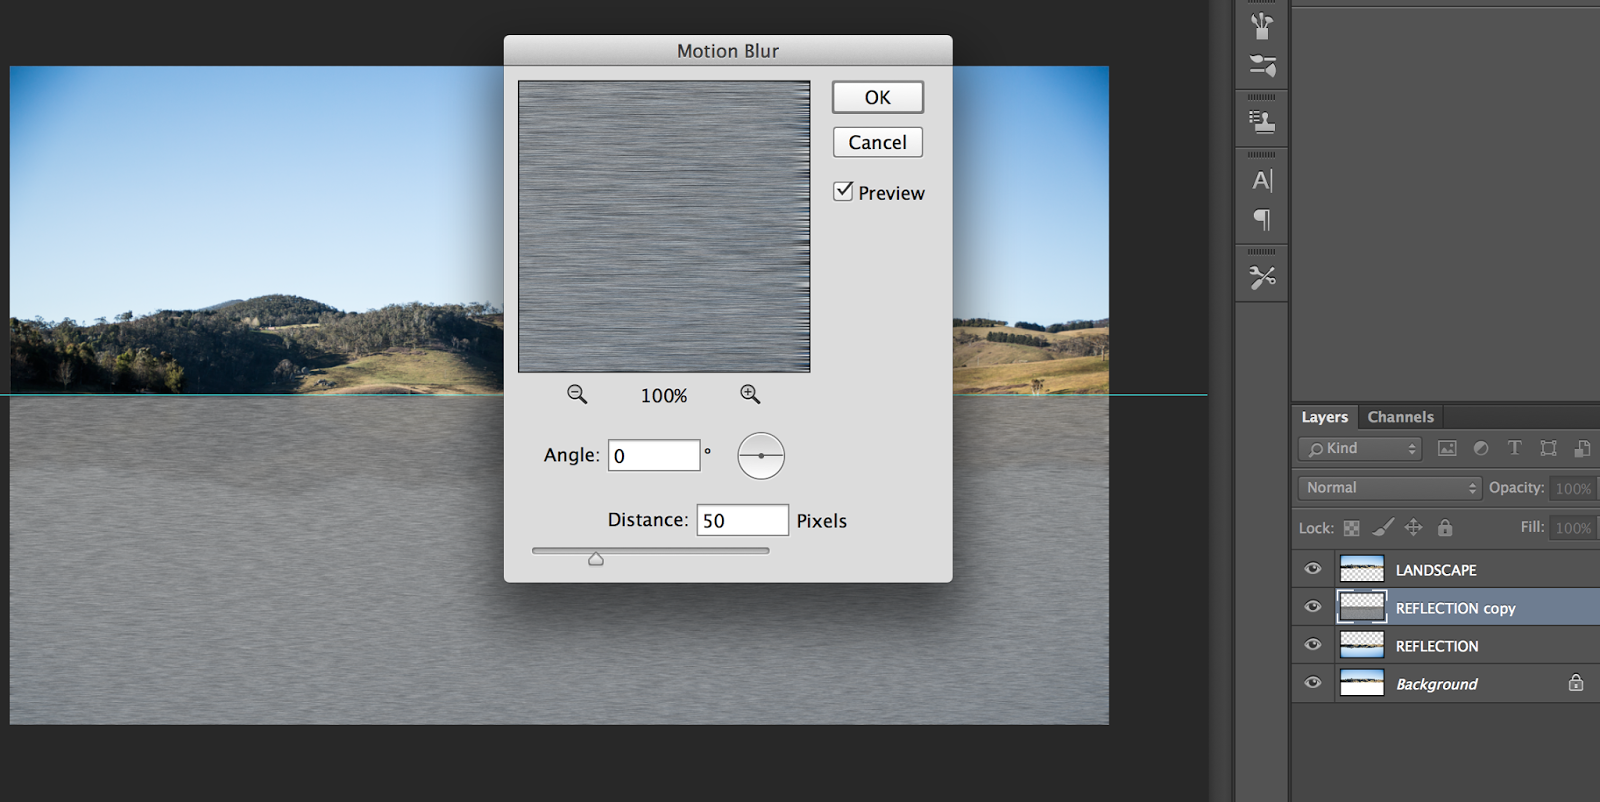
  • Go to Filter. 'Blur' then to 'MotionBlur'
  • Make the angle '0' and the distance '50Pixels'

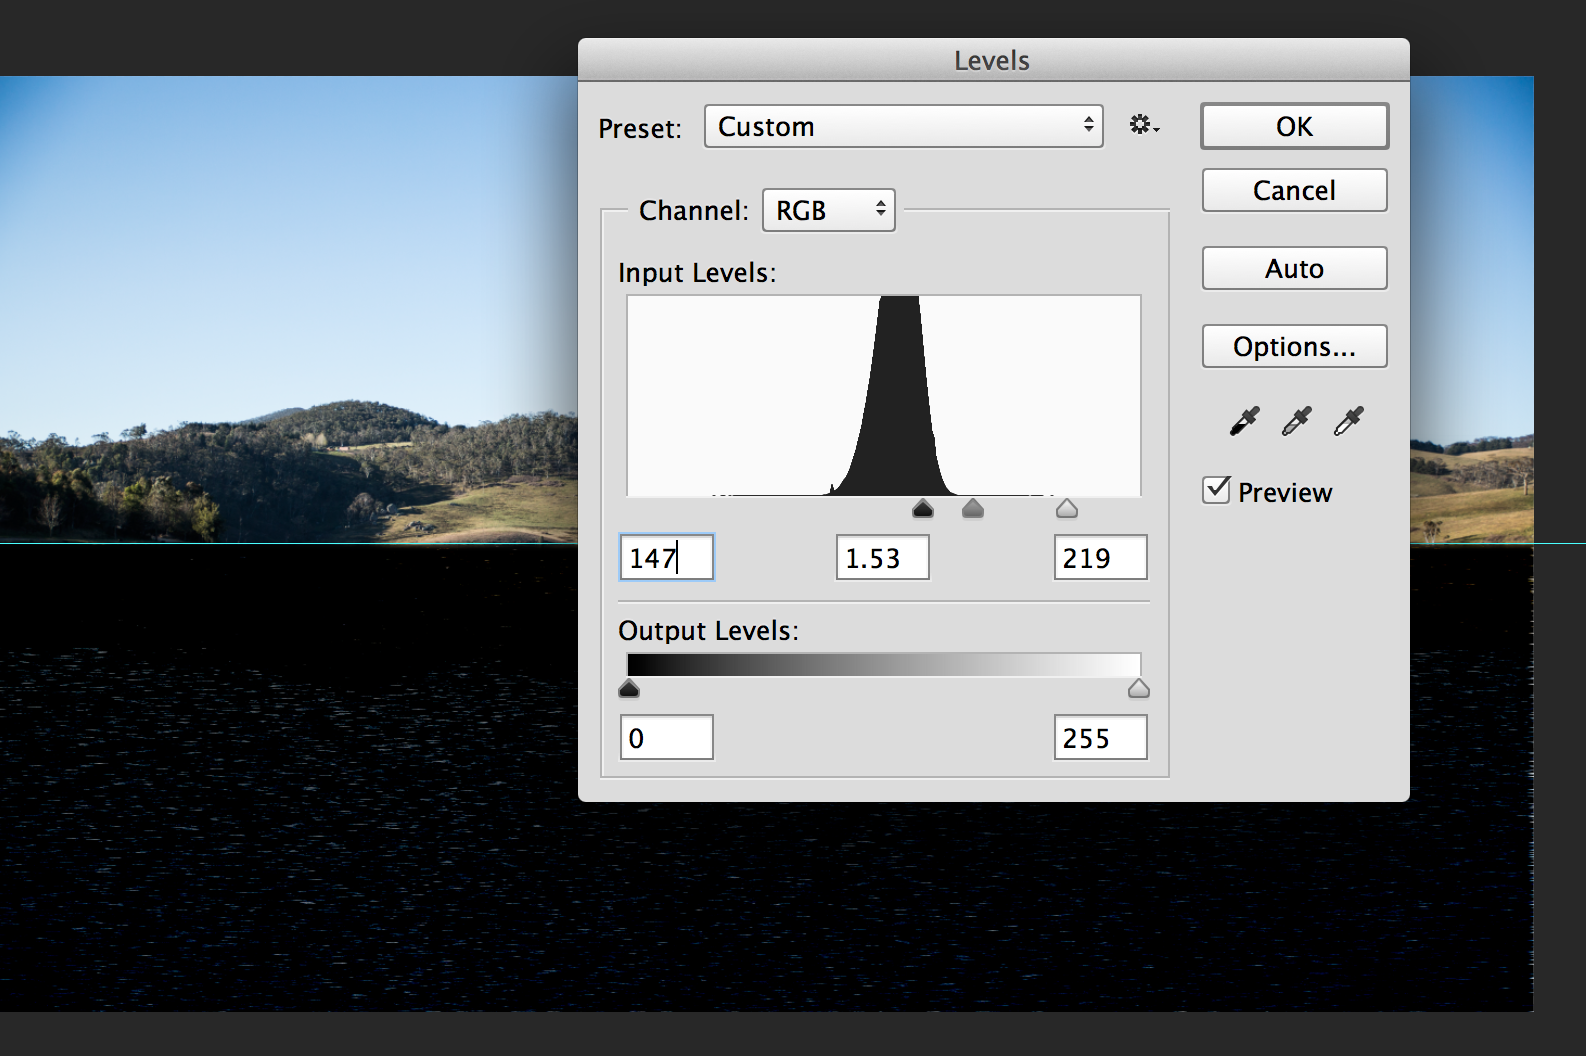
Change levels to adjust contrast of the ripplesWe then need to control the contrast of the image.
  • hold down 'Control' + 'L'
  • Change the output levels to '147. The Midtones '1.53' and the output levels '219'
I wanted to make the ripples of the water longer towards the bottom of the image and smaller and condensed towards the top of the image. to do this;
  • Open the transform tool by pressing 'control' and 'T'
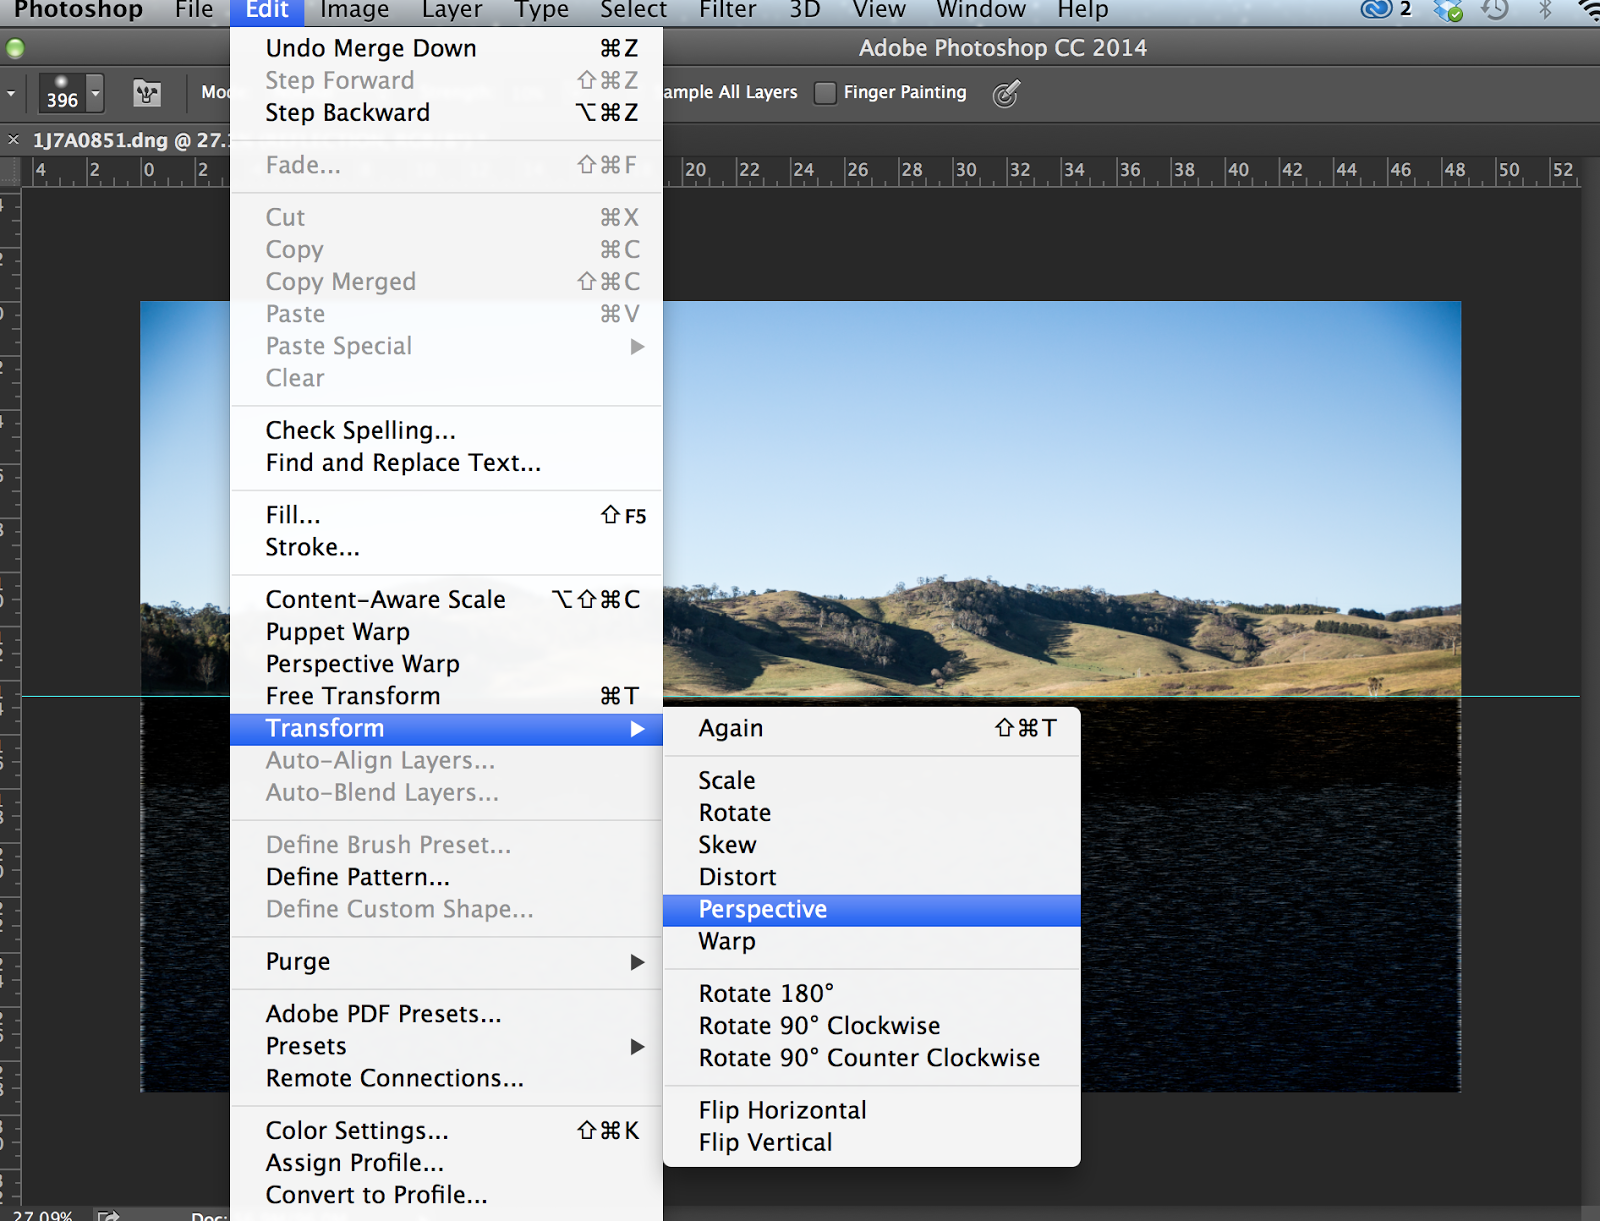
  • Go to 'Edit' 'Transform' and 'Perspective'
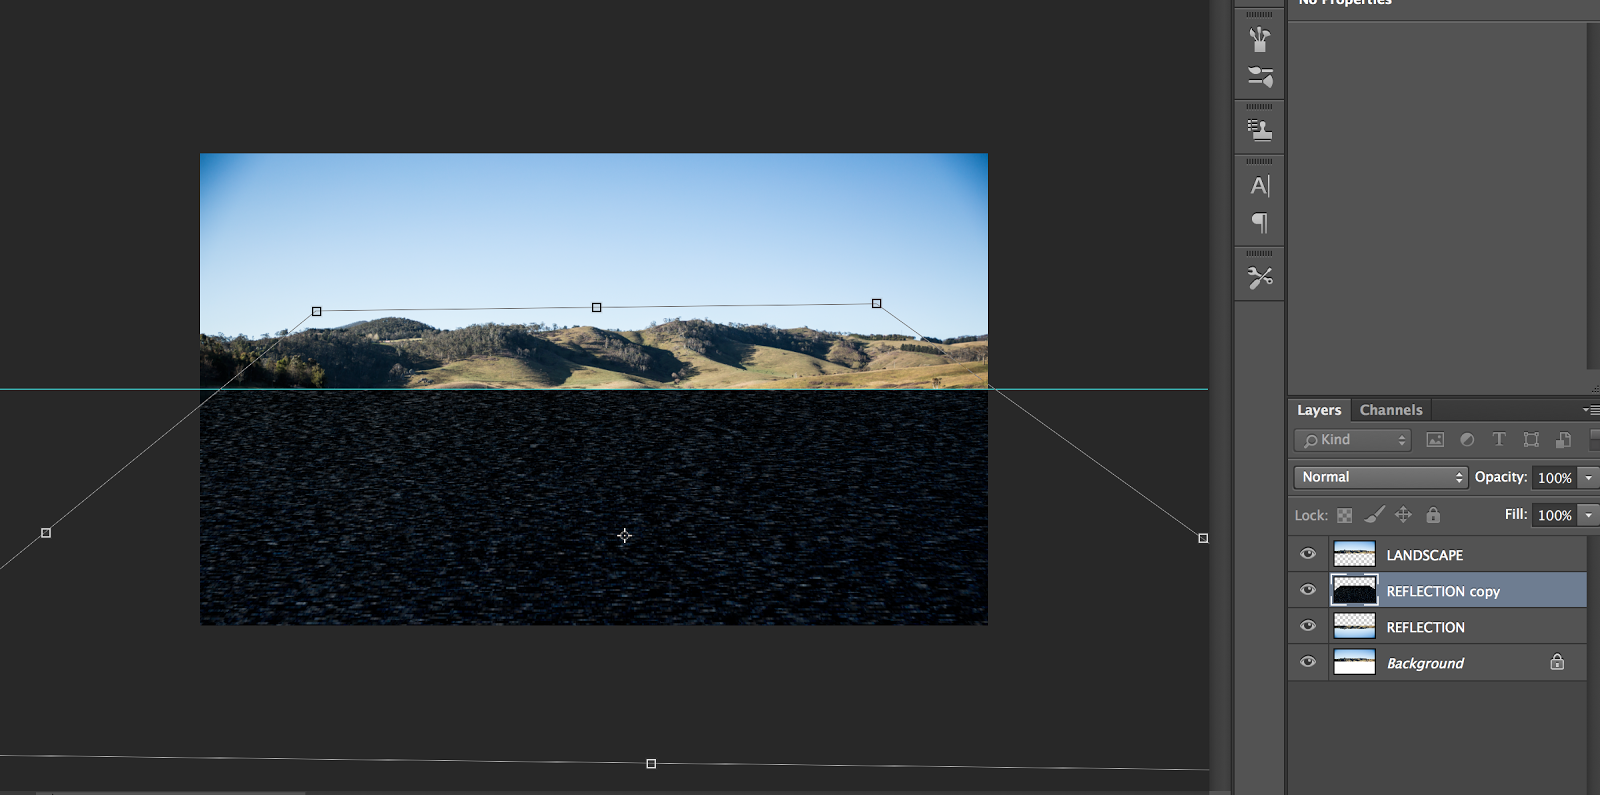
  • Go to the bottom corner and drag outwards. You will see the lines getting wider towards the bottom.
  • Then drag the top corners inwards. The image above demonstrates.
Changing the size and length of the waves


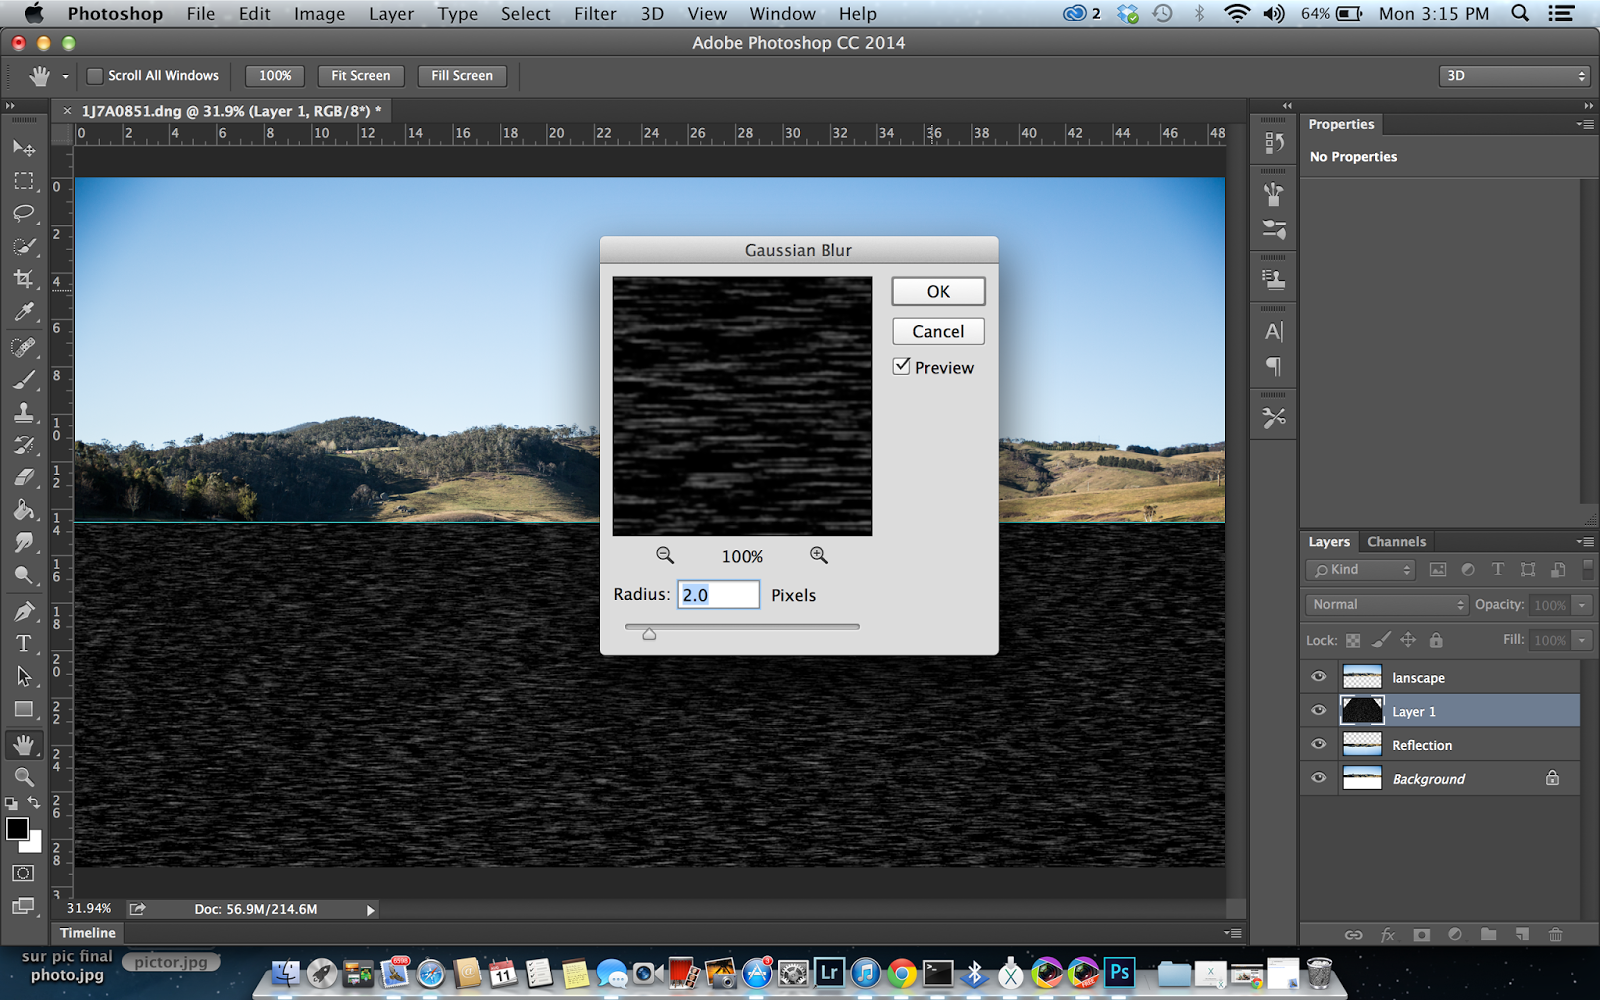
Using the smudge tool to smudge waves


Radius of 2 pixels
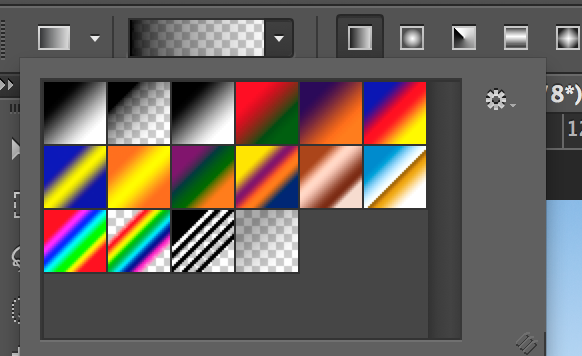
Adding a gradient to the bottom of the image


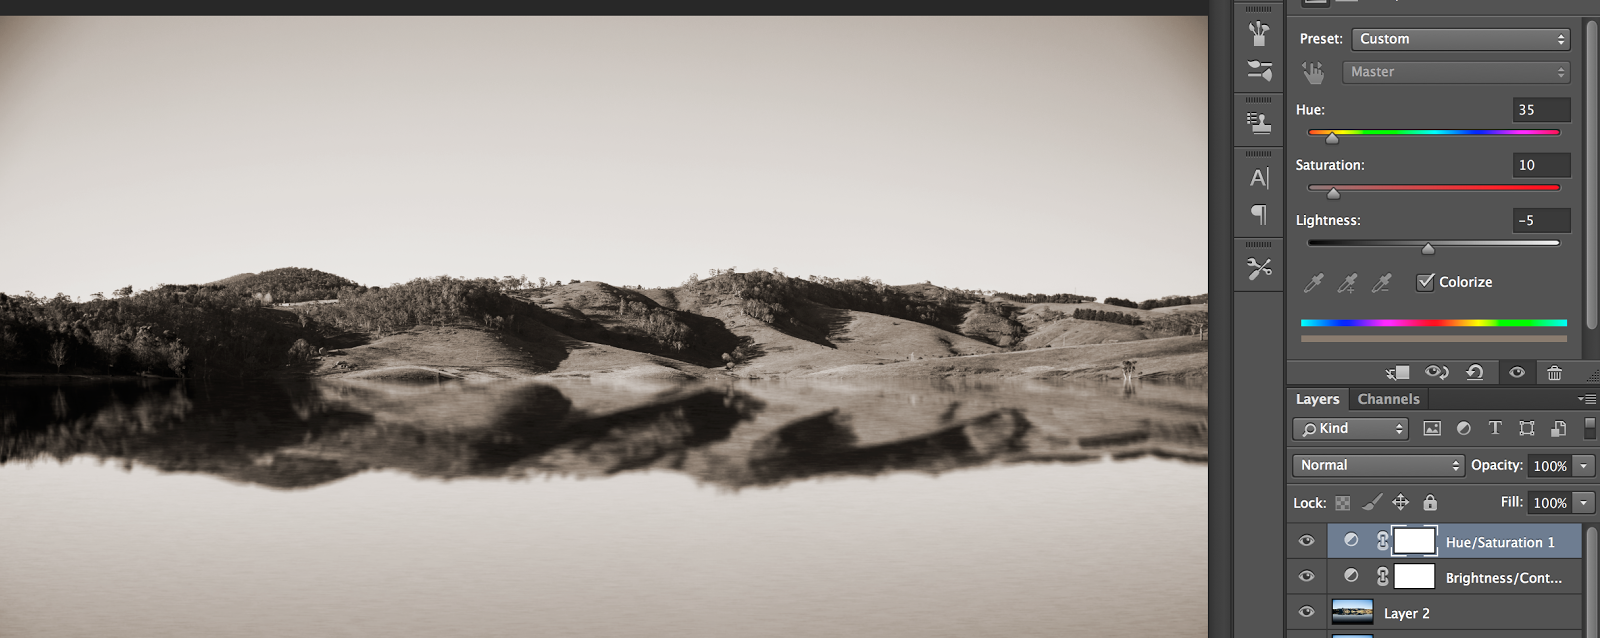
I then changed the colour of the image to 'Old colour'


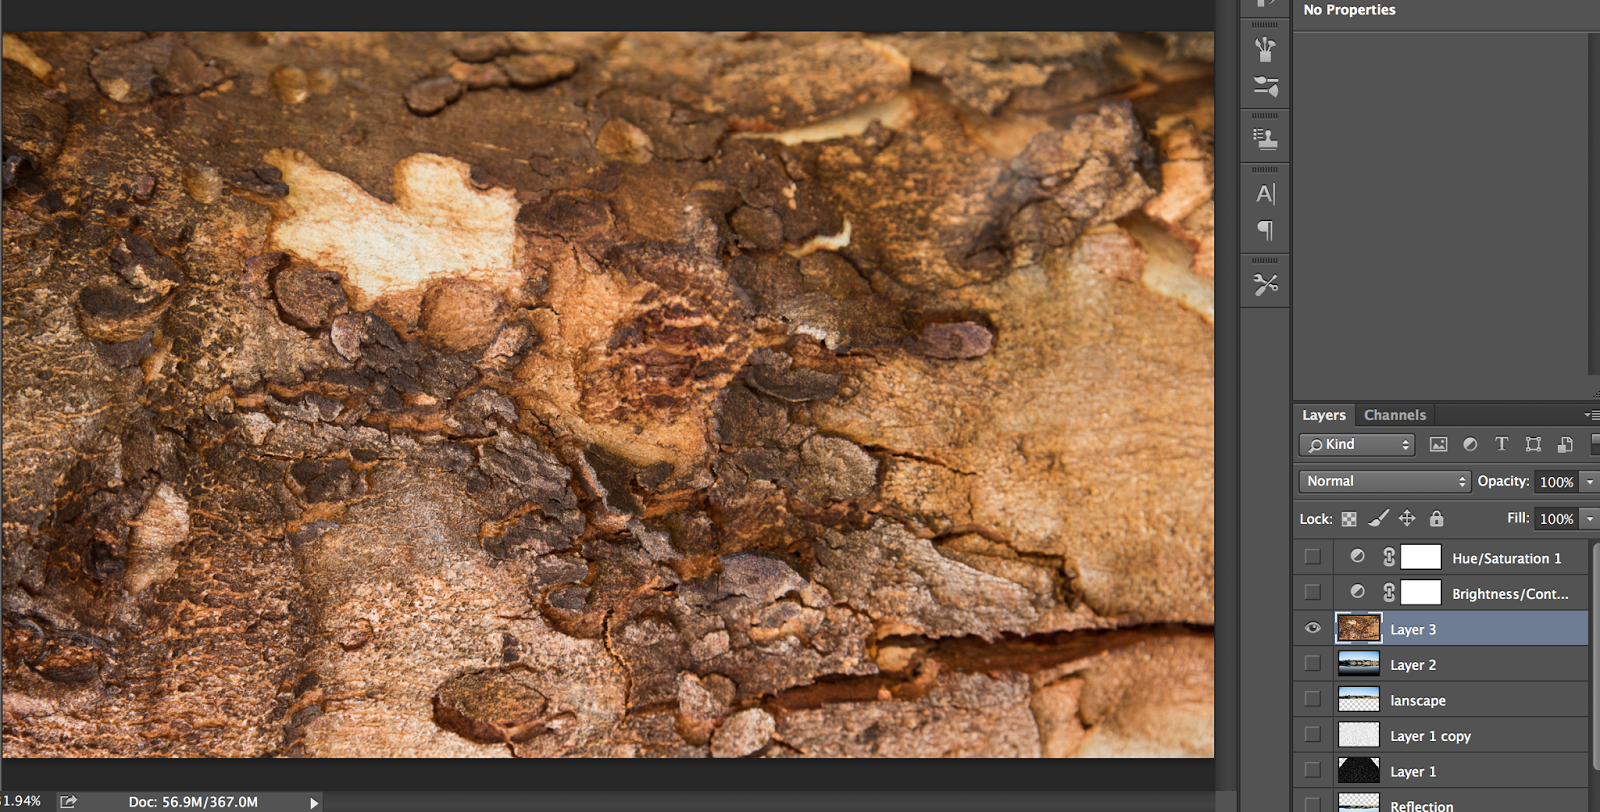
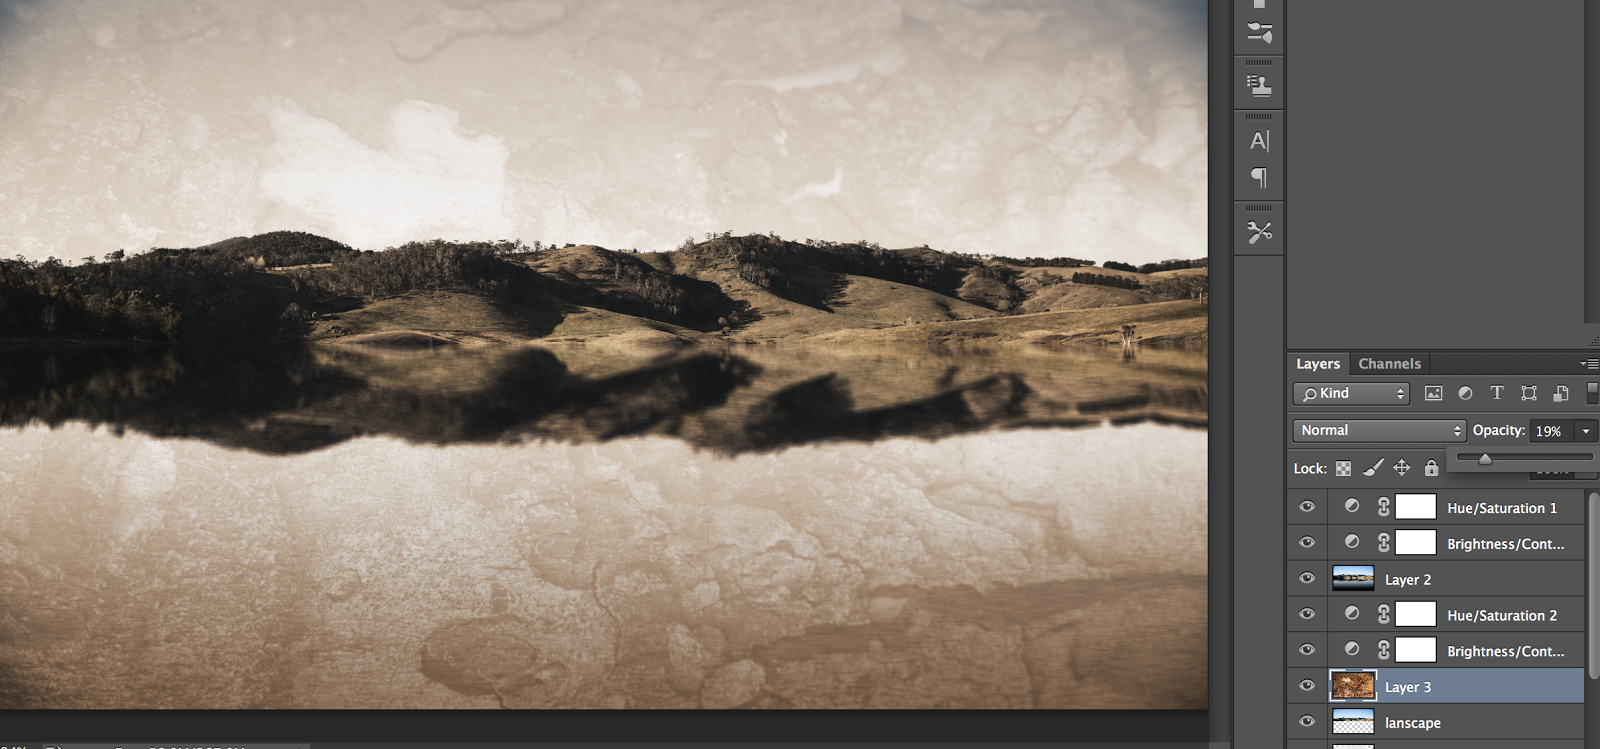
Adding a textured image i took of a tree in my garden. Blending with the final landscape image. 


Opacity of 64%


Other Images i practiced with;


The process;


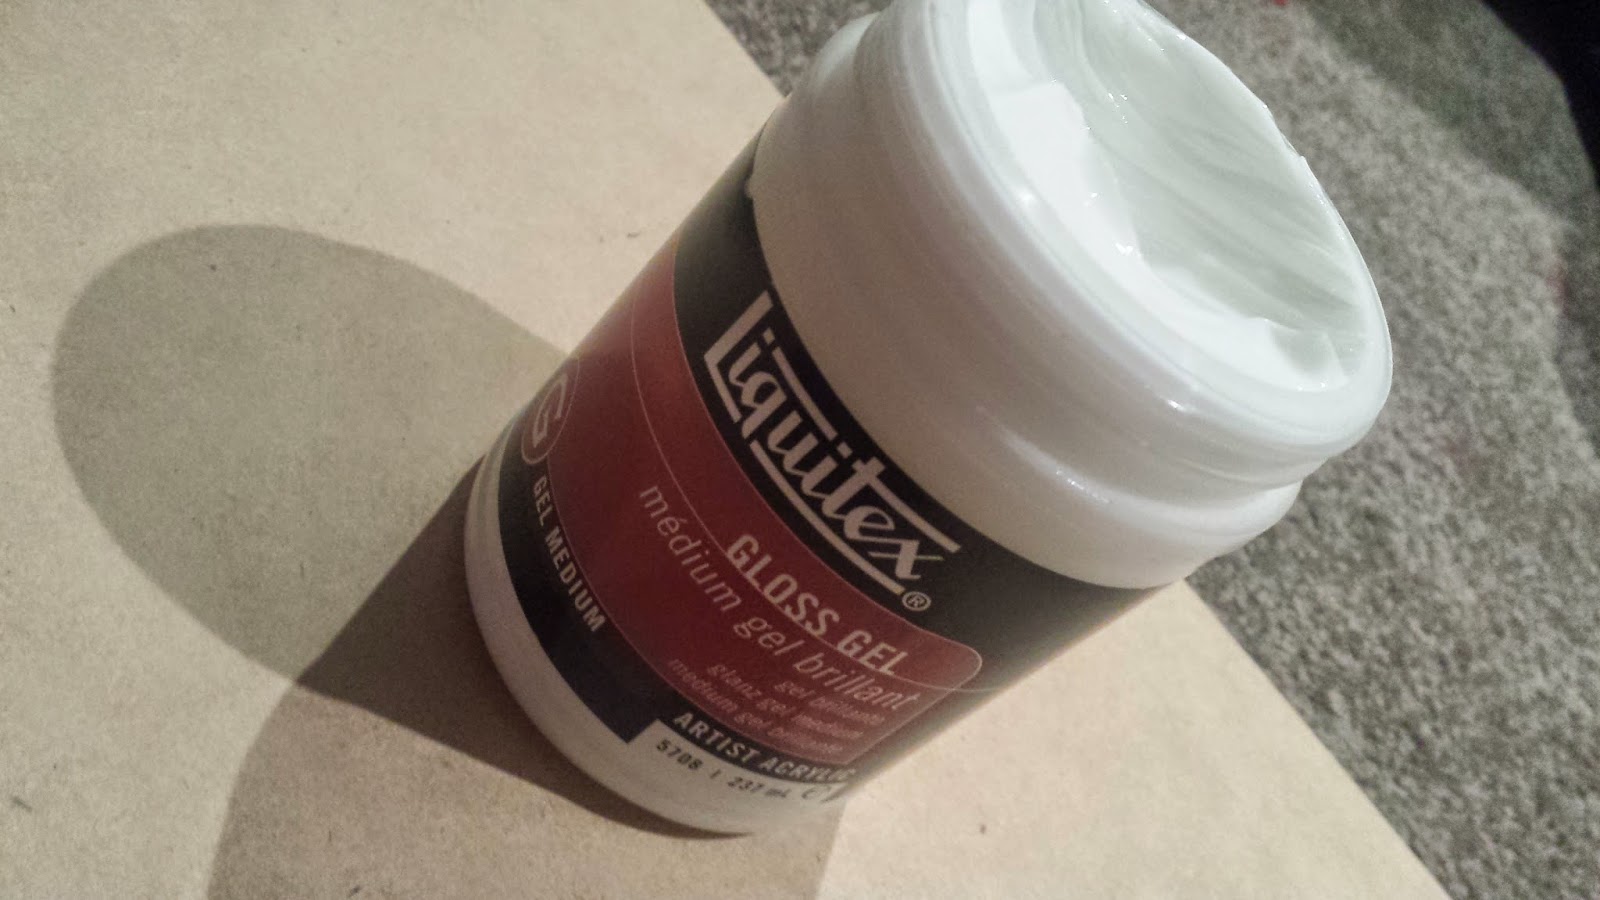
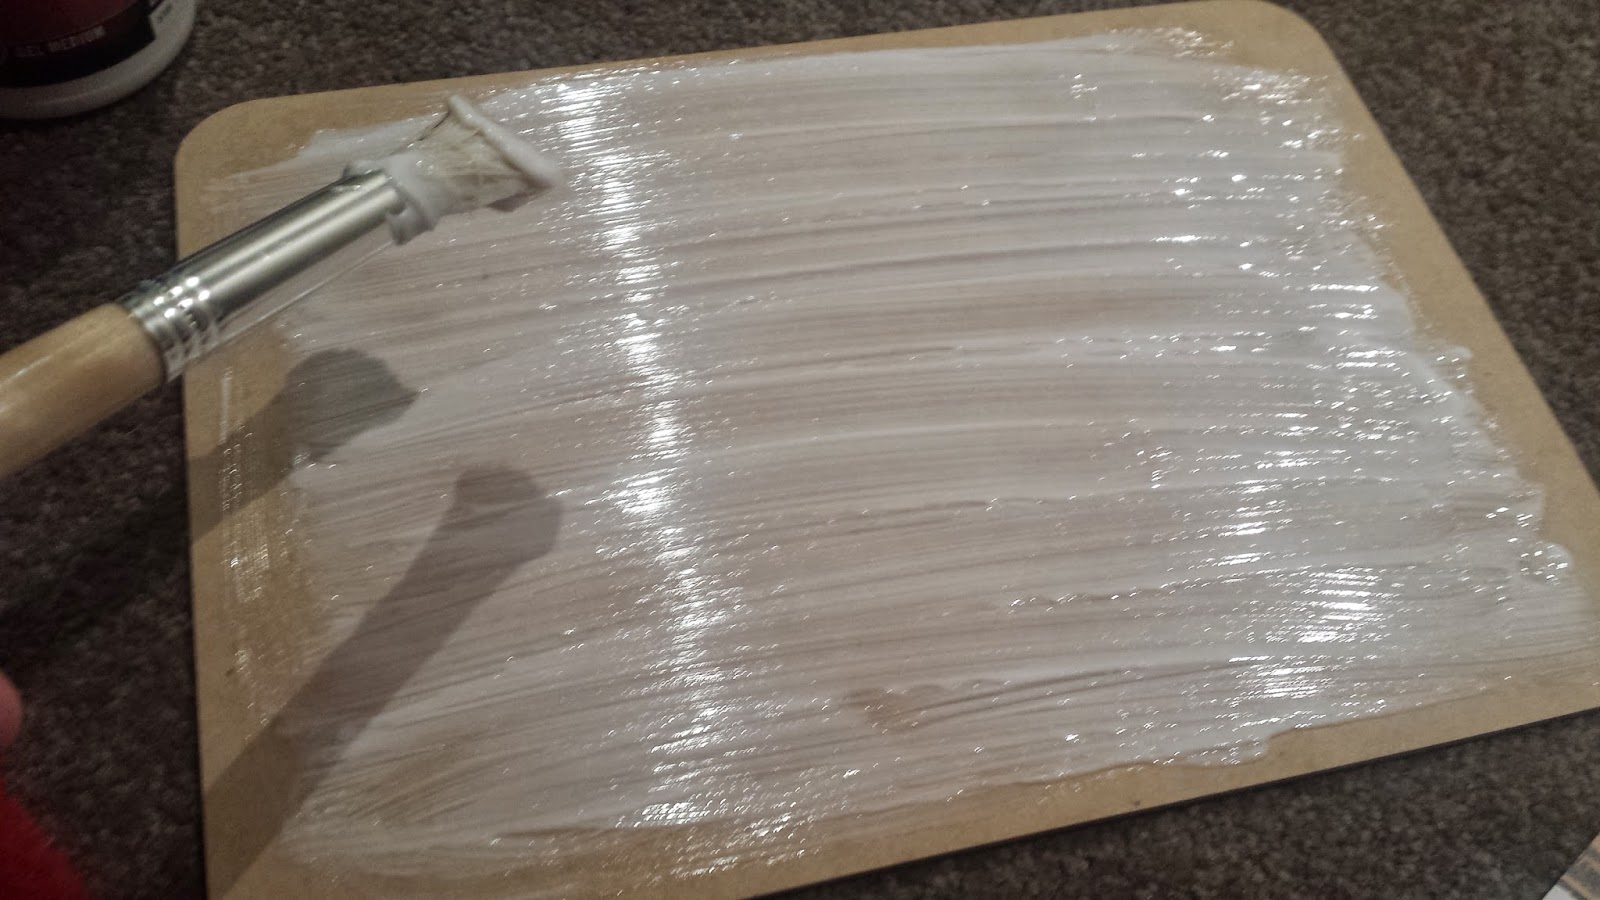
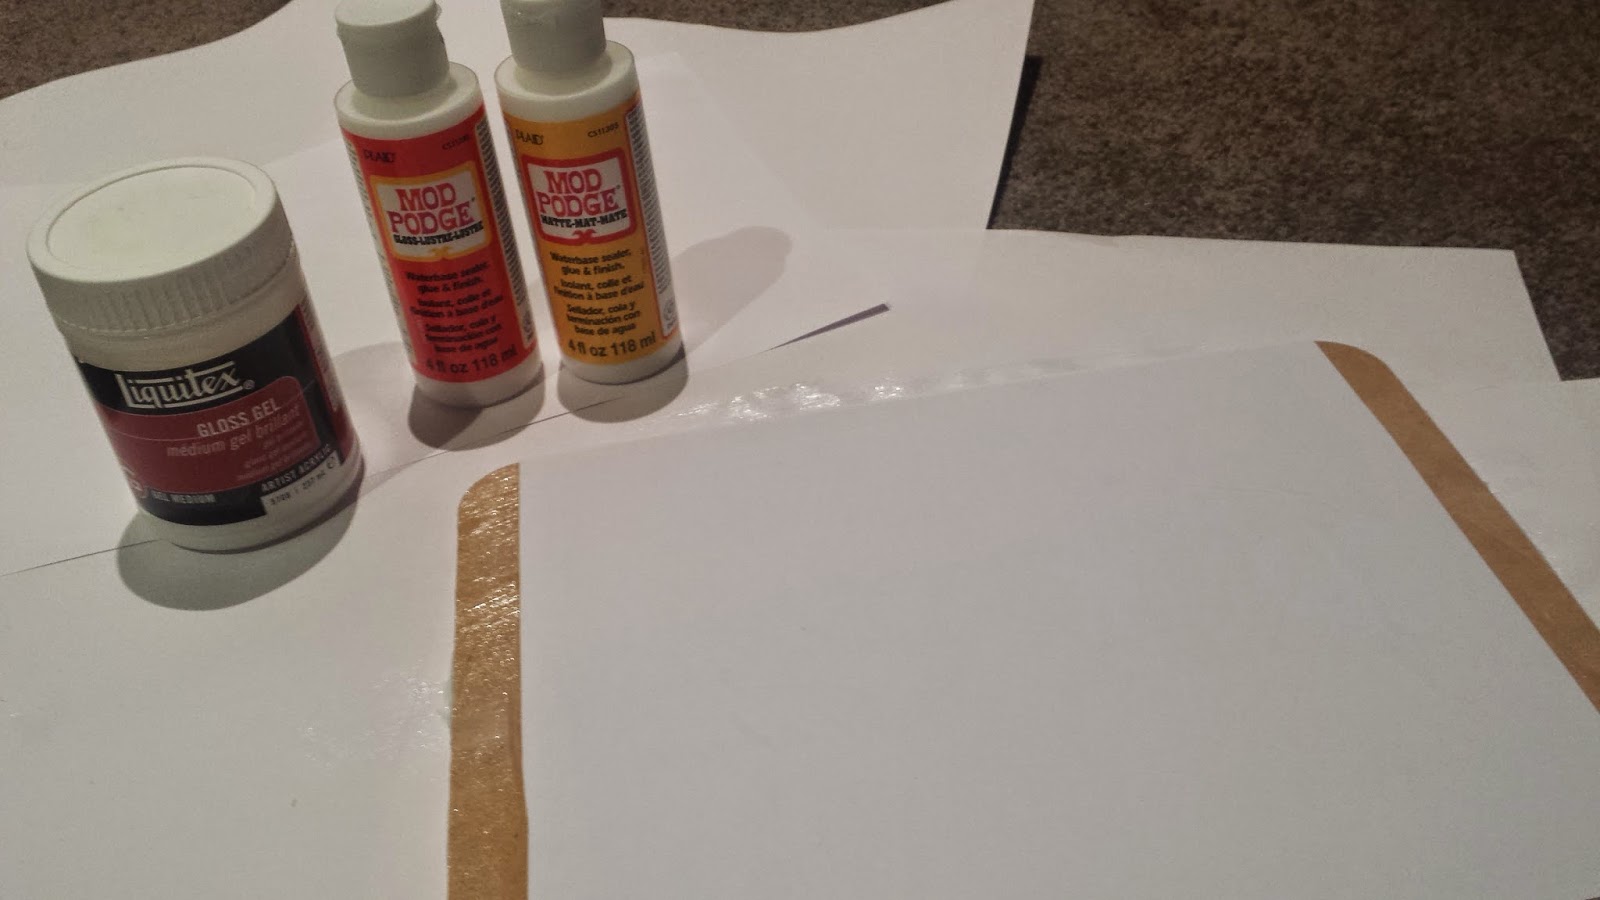
Medium Gloss Gel (Spot light)

Added a decent layer over the wood. Also Purchased from Spot Light


Using a 'Laser Print' photo of my landscape image (Printed at office works because my printer died on me). lay the image face down onto the medium gloss gel.
  • leave the image to dry over night.

Final outcome;
  • Once the image is dry. I added the finishing 'matte' gel
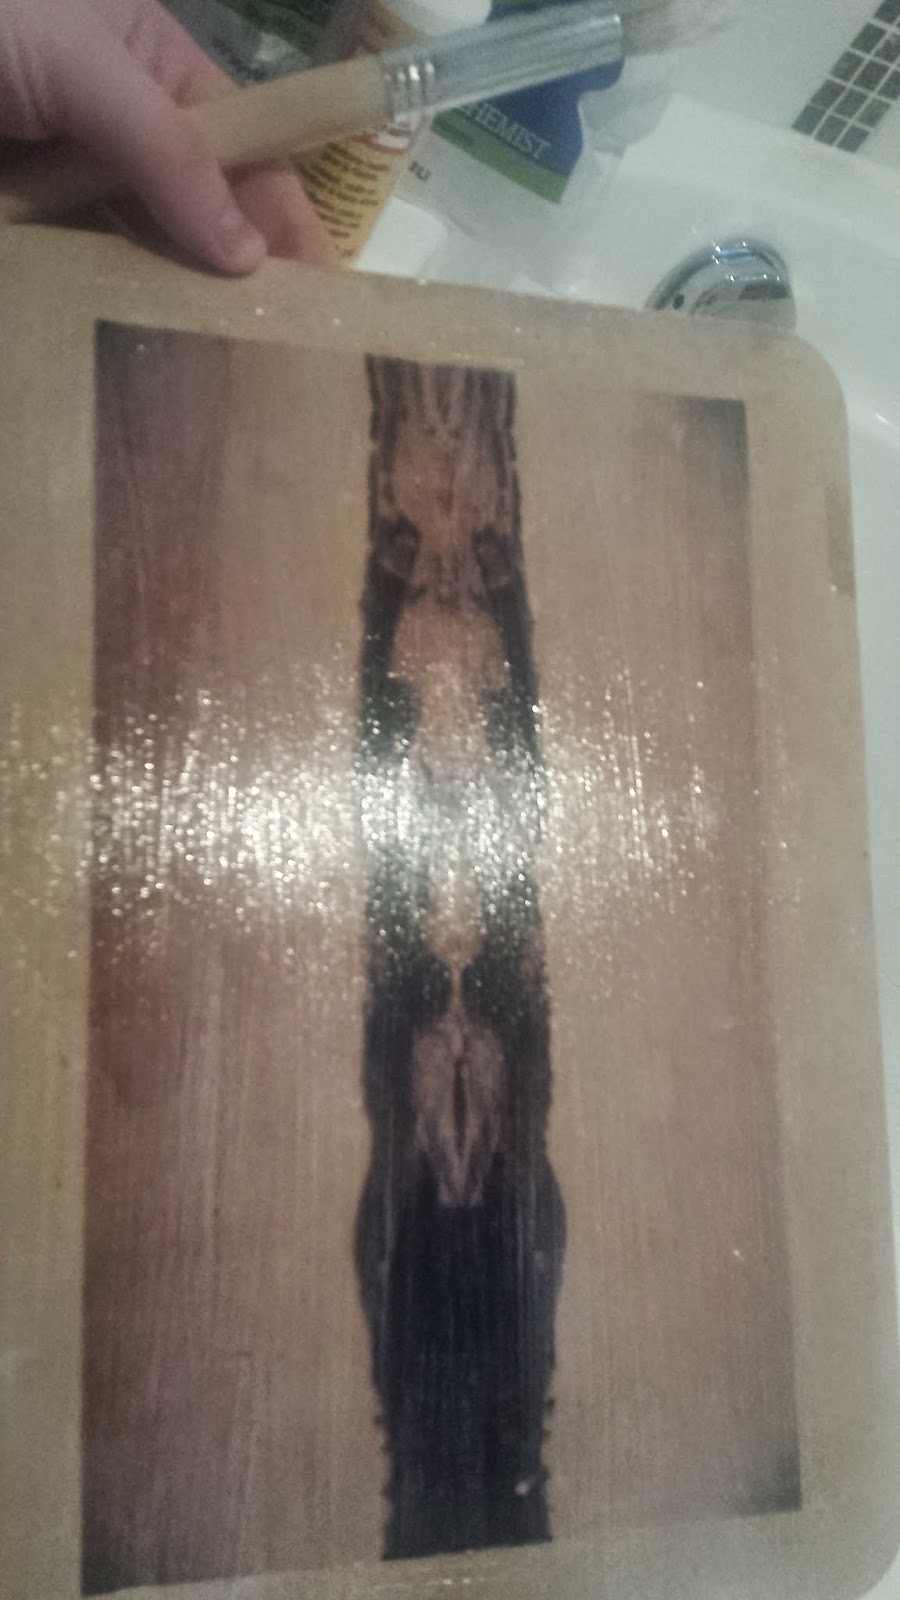
I left the wood under running water for about 1minute.
  • Carefully! rub paper off the wood. I used a cloth with a mesh on the inside, using circular motions and water.

mistakes;
  • Result to rubbing too hard;


The overall costs from Spotlight were:
○ $5.99 - wood planks x4
○ $16.95- Medium Gel
○ $15 - modge podge matte + gloss gel